

Tubeless Road Tire Pressure: A Rider's PSI Guide
Posted by Matt Russ on 19th Aug 2026
Tubeless Road Tire Pressure: A Rider’s PSI Guide
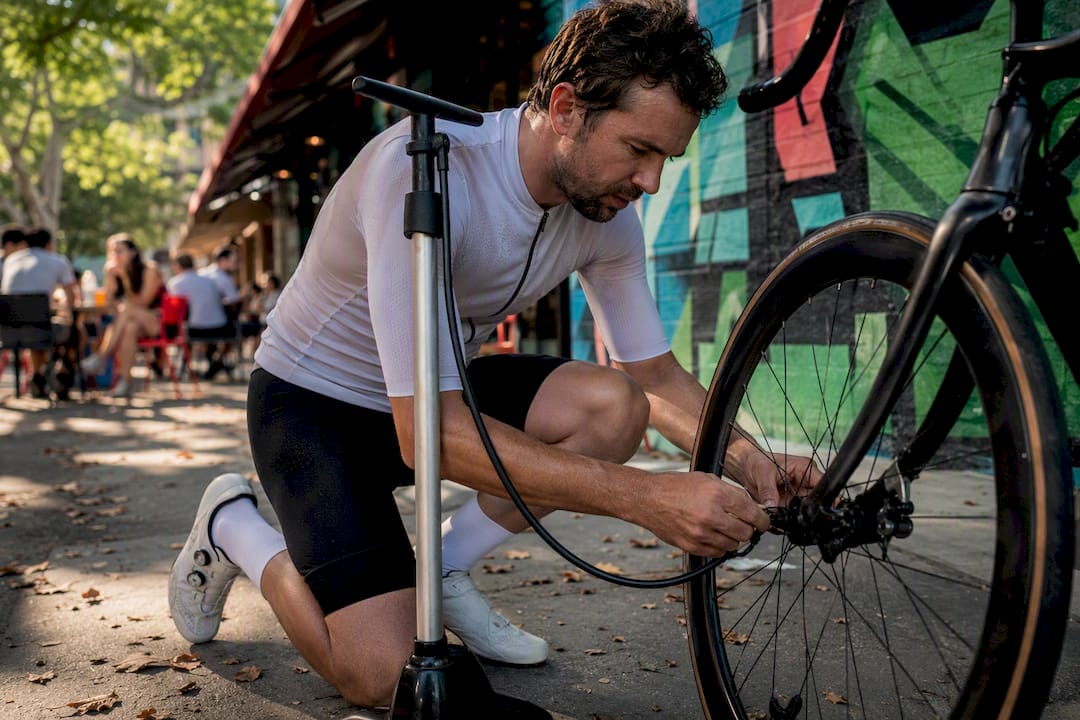
For most road cyclists on tubeless setups, start at typical pressure ranges for a 25mm tire, dropping to lower typical pressures for a wider 28mm tire, and yet lower for a 32mm gravel-leaning road tire. Adjust up or down based on your combined rider and bike weight, then fine-tune on your own roads.
Before you inflate anything, check two numbers stamped on your gear: the tire’s maximum pressure and, if you run a hookless rim, its maximum too. Hookless wheels commonly cap out around the typical limit near 73 psi (5.0 bar), and you always run whichever limit is lower.
Once you’ve set your starting pressure, three quick checks confirm you’re close:
- Press your thumb into the tread at the contact patch. It should give slightly, not feel rock hard or squishy.
- Ride a familiar rough patch of road. Rim strikes or a harsh, buzzy feel mean you’re too low or too high, respectively.
- Corner at moderate speed. Vague or skittish steering usually points to overinflation.
Pro Tip: Adjust in small steps, roughly 3 to 5 psi at a time. Jumping from 60 to 45 psi hides the subtle differences that actually matter for grip and rolling feel.
Key Takeaways
Optimal tubeless road tire pressure comes from matching system weight and tire width to a starting chart, then refining that number through incremental, on-road testing.
| Point | Details |
|---|---|
| Start with system weight | Weigh yourself in kit plus your bike’s actual weight, not body weight alone. |
| Respect hookless limits | Never exceed roughly 73 psi (5.0 bar) on hookless rims regardless of chart suggestions. |
| Split front and rear | Run the front tire about 3 psi lower than the rear for better cornering grip. |
| Adjust in small steps | Change pressure 3 to 5 psi at a time and test on a fixed loop to isolate real differences. |
| Get precise tools | Sportfactoryproshop carries digital gauges and tubeless pumps built for exact, repeatable inflation. |
Table of Contents
- Road Tire Pressure Tubeless Chart By Weight And Width
- What Actually Changes Your Optimal Tubeless Pressure
- How To Test And Dial In Your Tubeless Tire Pressure
- Tubeless Safety Limits You Can’t Ignore
- Tools And Calculators Worth Trusting
- Front Versus Rear Pressure And Weather Adjustments
- Quick Fixes For Common Tubeless Pressure Problems
- How To Measure Rider Weight Correctly For Pressure Setting
- Temperature, Elevation, And Other Road Conditions That Shift Pressure
- Sources
Road Tire Pressure Tubeless Chart By Weight And Width
Tire width and rider weight drive your starting pressure more than any other variable. A 68kg rider on 28mm tires needs a noticeably different number than a 95kg rider on 25mm rubber, and guessing wastes a lot of good tarmac. The chart below reflects starting pressures based on system weight, meaning rider plus bike plus gear, which gives a more accurate baseline than rider weight alone.
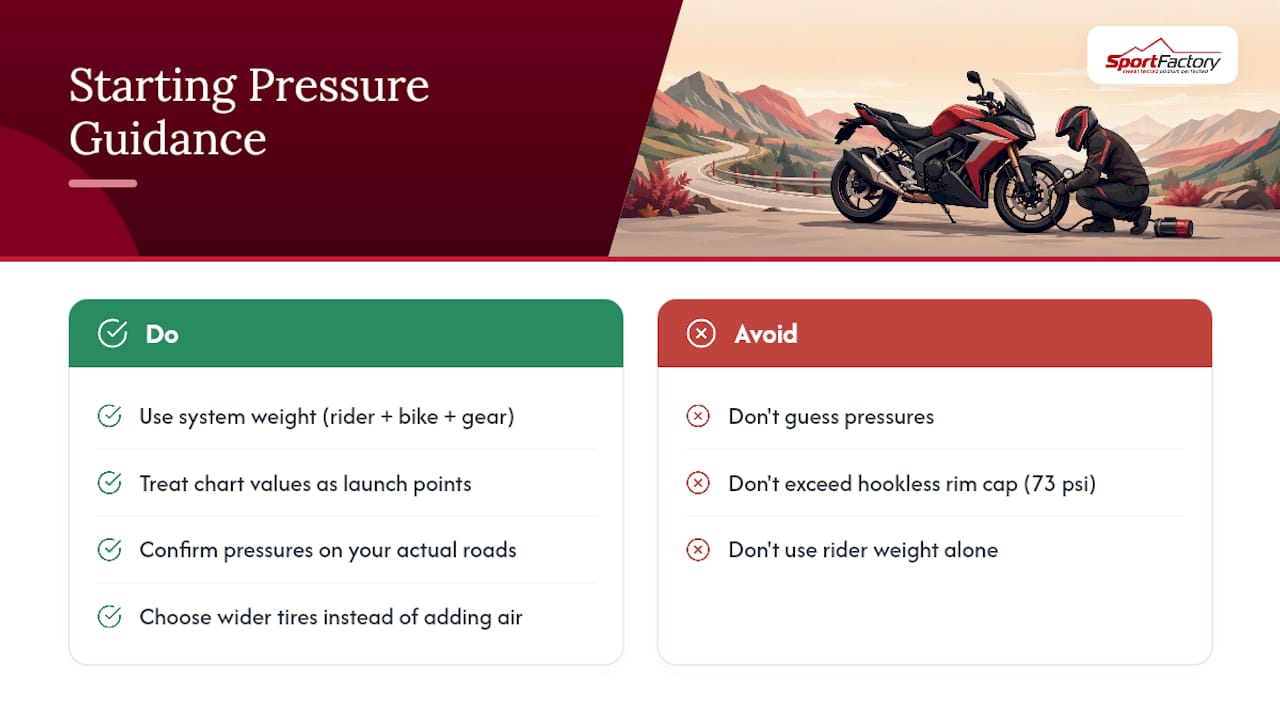
Safety note: Many hookless carbon rims cap maximum pressure near 73 psi (5.0 bar), regardless of what the chart above suggests for heavier riders on narrow tires. If your system weight pushes you past that number on 25mm tires, you need a wider tire, not more air.
Treat every value here as a launch point, not a destination. ENVE’s own pressure charts make the same point: rim width, tire volume, and system weight all shift the ideal number, and only riding on your actual roads tells you if you’ve landed on it.
What Actually Changes Your Optimal Tubeless Pressure
Rim internal width matters as much as tire width printed on the sidewall. A 25mm tire mounted on a 25mm internal rim measures wider and rounder than the same tire on a 19mm rim, effectively changing your air volume without touching the pump. Wider modern rims are a big reason tubeless riders now run 10 to 15 psi lower than the old tube-era numbers stuck in a lot of riders’ heads.
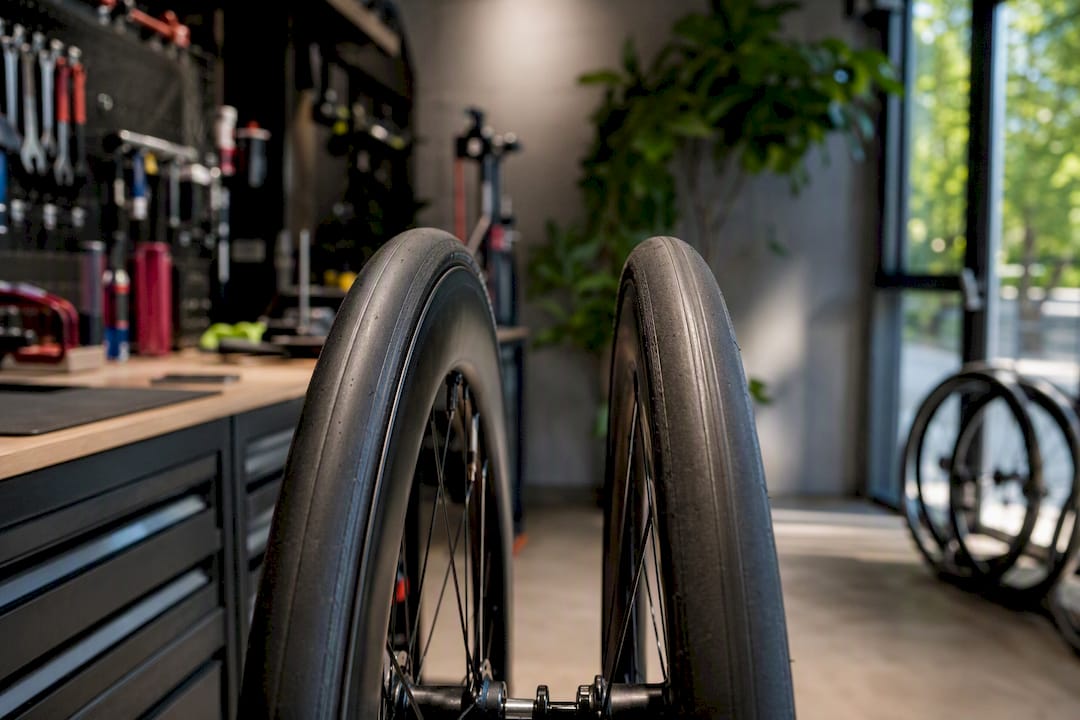
Casing construction plays a quiet but real role too. A supple, high-thread-count casing flexes more easily and can run slightly higher pressure while still feeling compliant, while a stiffer, more puncture-resistant casing often needs a few psi less to avoid a harsh ride.
Several factors interact to shape your final number:
- Tire and rim volume: wider tires and wider internal rim widths both lower your ideal pressure.
- System weight: rider, bike, and gear combined, not just body weight on a scale.
- Casing stiffness: supple casings tolerate more pressure comfortably; stiff casings need less.
- Sealant volume and bead fit: more sealant sloshing around can affect balance at very low pressures, and a loose bead fit raises burping risk.
Picture the contact patch as a footprint: lower pressure widens that footprint into a longer, flatter oval, spreading your weight over more rubber. That’s the mechanical reason lower tubeless pressure feels more planted on rough pavement.
How To Test And Dial In Your Tubeless Tire Pressure
Pick a fixed loop you ride often, ideally one with a flat straightaway, a rough or chip-seal section, and at least two corners you take at speed. This becomes your test track for every pressure change going forward.
- Set your tires to the starting psi from the chart above and ride the full loop, noting lap time if you track it.
- Drop pressure by 3 to 5 psi and repeat the same loop under the same conditions.
- On the rough section, listen and feel for rim strikes, a dull clack that means you bottomed out.
- Through the corners, judge whether the bike holds its line or feels vague and wandery.
- On the flat, note whether the ride feels noticeably slower or draggy at lower pressure.
- Keep adjusting in the same small increments until one direction clearly feels worse, then settle on the pressure just before that point.
Log each run in your phone’s notes app: pressure, road feel, any rim strikes, and how the corners felt. Three or four rides in, a clear sweet spot usually emerges.
Pro Tip: Test on the same day if possible. Temperature swings alone can shift your tire’s effective pressure by a couple of psi, muddying your comparison between runs.
Tubeless Safety Limits You Can’t Ignore
Your ceiling is always the lower of two numbers: the max pressure stamped on the tire sidewall or the max stamped on the rim. Giant’s tire pressure guidance is blunt about this. Ignore it and you risk blowing a tire off the bead mid-ride.
Hookless rims deserve special attention. Most cap out around 73 psi (5.0 bar), a limit set because hookless bead retention relies entirely on friction and tight tolerances, not a mechanical hook holding the tire in place. Exceed that limit and the tire can unseat violently.
Quick checks worth building into your routine:
- Before every ride, squeeze the tire to confirm it hasn’t slowly bled down overnight.
- Watch for burping, a hissing pop under hard cornering load, which signals your pressure is too low for that tire and rim combination.
- After a rough ride, spin the wheel and look for sealant residue near the bead, an early warning sign of a seating issue.
Tools And Calculators Worth Trusting
The Vittoria Tire Pressure Calculator and similar tools from wheel makers ask for your system weight, tire width, and rim internal width, then spit out a starting rear and front number. They’re a fast way to skip the guesswork on a new bike or wheelset. Light Bicycle’s tubeless pressure charts work similarly but lean more heavily on rim-specific data, since carbon rim geometry varies more than most riders realize.
For gear, a quality digital gauge reads more consistently than the analog dial on most floor pumps, especially in the 40 to 90 psi range where road tires live. None of these tools know your personal road surface or riding style, though. They get you close; your test loop gets you exact.
Front Versus Rear Pressure And Weather Adjustments
Run your front tire about 3 psi lower than the rear. Your rear wheel carries more of your weight, especially when seated, so it needs slightly more air to avoid bottoming out.
- Standard split: rear at target psi, front 3 psi lower.
- Wet roads: drop both by a small amount to widen the contact patch and improve grip.
- Glass-smooth new tarmac: you can nudge pressure up slightly for lower rolling resistance.
- Heavy saddle bags or rear-mounted cargo: add a psi or two to the rear only.
Pro Tip: Test wet-weather pressure drops on a familiar, low-traffic road first, not during your first rainy commute.
Quick Fixes For Common Tubeless Pressure Problems
- Frequent burping in corners: raise pressure 3 to 5 psi or check bead seating.
- Rim strikes on rough roads: you’re too low. Add 5 psi and reassess.
- Vague, wandery cornering: you’re likely overinflated. Drop 3 to 5 psi.
- Sluggish rolling feel on smooth roads: try a small pressure increase, not a drop.
- Sealant weeping from the bead: deflate fully, reseat, and re-inflate with a booster or compressor.
How To Measure Rider Weight Correctly For Pressure Setting
Weigh yourself in your full riding kit, including shoes, helmet, and anything in your jersey pockets on a typical ride. That number, not your bathroom-scale weight in socks, is what actually loads the tire.
Add your bike’s weight next. A 16-pound race bike and a 22-pound endurance bike with mounted lights, a saddle bag, and a computer mount put meaningfully different loads through the tires, and that gap widens further if you’re running frame bags or a hydration system for longer rides.
Combine those numbers into a single system weight, then match that figure to the closest weight band in the chart above rather than your body weight alone. A 150-pound rider on an 18-pound bike with a full water bottle and saddle bag is closer to a 175-pound system weight than most riders assume, and using body weight alone would leave that rider running noticeably less pressure than their setup actually needs.
If your weight fluctuates seasonally, or you swap between a stripped-down race bike and a loaded training bike, it’s worth recalculating your system weight each time rather than relying on a single number set once and forgotten. Riders training through winter often add several pounds of clothing, lights, and mudguards, all of which shift the ideal pressure upward by a few psi even though body weight hasn’t changed at all.
Temperature, Elevation, And Other Road Conditions That Shift Pressure
Heat expands air, and a tire pumped up in a cool garage can read several psi higher once it’s been rolling under a hot midday sun for twenty minutes. If you set your pressure indoors before a summer ride, check it again once the tires have warmed up, since the number you started with may no longer match what’s actually in the tire.
Cold mornings work the opposite direction. Tires set the night before in a heated space often lose a psi or two by the time you roll out into 40 degree air, so a quick top-off before a cold-weather ride is worth the thirty seconds it takes.
Elevation and altitude changes affect tire pressure less than most riders expect on typical road rides, since the pressure differential that matters is between the tire’s interior and the surrounding atmosphere, which shifts only gradually with altitude. Where elevation matters more is descending: long, fast descents heat rims and tires through braking, and a tire set right at your rim’s maximum on a valley floor could creep uncomfortably close to that ceiling by the time you reach a mountain pass parking lot.
Road surface age matters too. Fresh chip-seal chews up momentum and rewards slightly lower pressure for grip and comfort, while polished, well-worn asphalt lets you run a touch higher without sacrificing traction.
Why Testing Beats Trusting A Single Number
Every chart in this guide, including the calculators, gave a good starting point in testing across different riders and setups, but the final number always came from riding, not from a formula. Treat your tire pressure as a personal calibration you revisit each season, not a fact you set once and forget.
Get The Gear To Dial In Your Pressure Precisely
None of this testing means much without a gauge you actually trust and a pump that hits exact numbers instead of approximate ones. Sportfactoryproshop stocks precision digital gauges, high-pressure tubeless pumps, and sealant built for road-specific tubeless setups, all vetted for the kind of accuracy this guide depends on.

If your current floor pump’s gauge has you guessing whether you’re at 62 or 68 psi, that’s the first upgrade worth making. Browse tubeless pumps and gauges at Sportfactoryproshop and get your next ride started at the exact pressure your test loop proved works.