

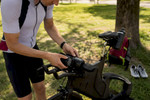
The Right Triathlon Hydration Setup for Every Race Distance
Posted by Matt Russ on 27th Aug 2026
The Right Triathlon Hydration Setup for Every Race Distance
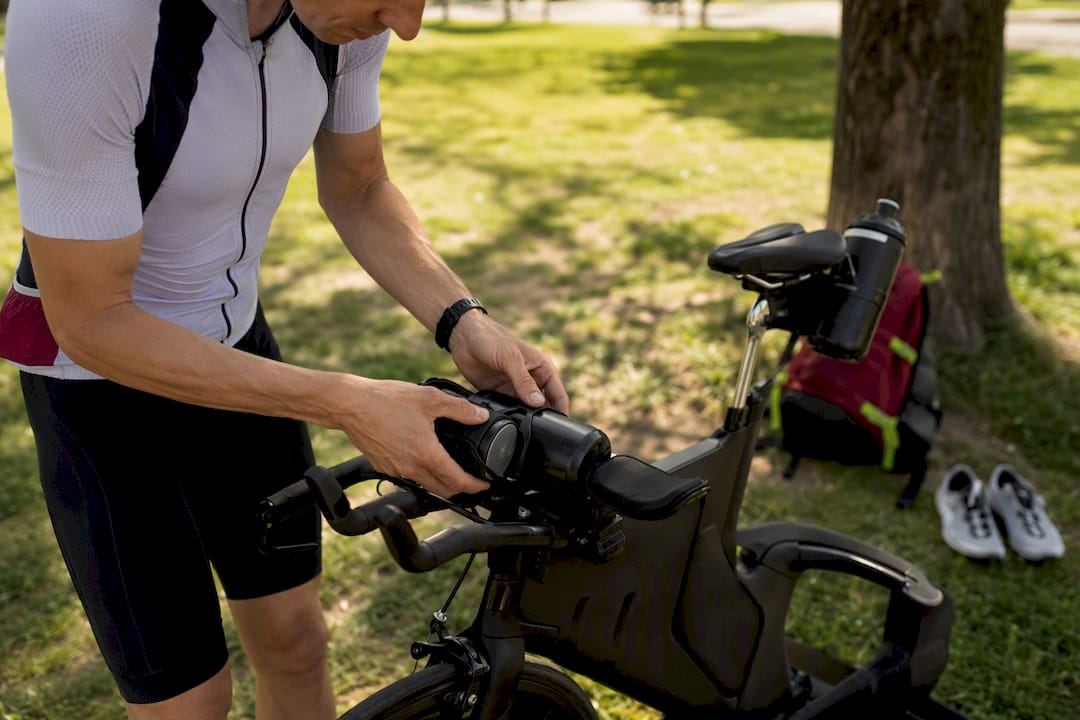
For sprint and Olympic races, a single BTA aero bottle covers most needs. For 70.3 racing, pair that BTA bottle with one frame cage as backup. For Ironman, run a behind the arms bottle alongside a behind saddle system so you’re never more than a few minutes from your next micro-sip. Whatever you choose, confirm it against current World Triathlon rules and ride it at least four times before race day.
TL;DR:
- For Ironman races, a multi-point hydration system with a BTA bottle and behind saddle capacity is essential, refilled at aid stations every 10 to 15 miles.
- Hydration setups must prioritize being able to sip without disrupting the aero position, with secure routing and correct straw height, especially for behind-saddle bottles in crosswind conditions.
- Testing your hydration system through multiple long rides in various wind conditions and practicing aid-station refills ensures reliability and adherence to current World Triathlon rules.
- A well-practiced, reliable system that allows continuous sipping at race pace is more valuable than marginal aero benefits from marginally sleeker bottles.
- Confirm your hydration hardware complies with current rules before race day, and choose proven, stable equipment over gear that might shift, leak, or fall off during the race.
Table of Contents
- Choosing a Triathlon Hydration Setup by Race Distance
- How Should You Mount Your Hydration for Aero Gains?
- How Much Fluid and Carbohydrate Should You Carry?
- When Should You Stop for Aid-Station Refills?
- How Do You Test a Hydration Setup Before Race Day?
- What Should You Prioritize When Finalizing Your Setup?
- Where to Find Race-Ready Hydration Hardware
- Sources
Choosing a Triathlon Hydration Setup by Race Distance
The right hydration setup depends almost entirely on how long you’ll be on the bike and how much fluid you’ll need without stopping. A sprint triathlon rarely demands more than 30 to 45 minutes of riding, while an Ironman bike leg can stretch past six hours. That gap changes everything about what you mount, where you mount it, and how often you plan to refill.
Sprint and Olympic distance: minimal. One bottle, usually a single between the arms (BTA) aero bottle, is enough. Some racers skip a bottle entirely and rely on trisuit pocket gels plus aid-station cups on the run. The rationale is simple: at this distance, the marginal aero cost of anything beyond one bottle outweighs the hydration benefit. You’re not racing long enough to risk dehydration, and every extra mount is drag you didn’t need.
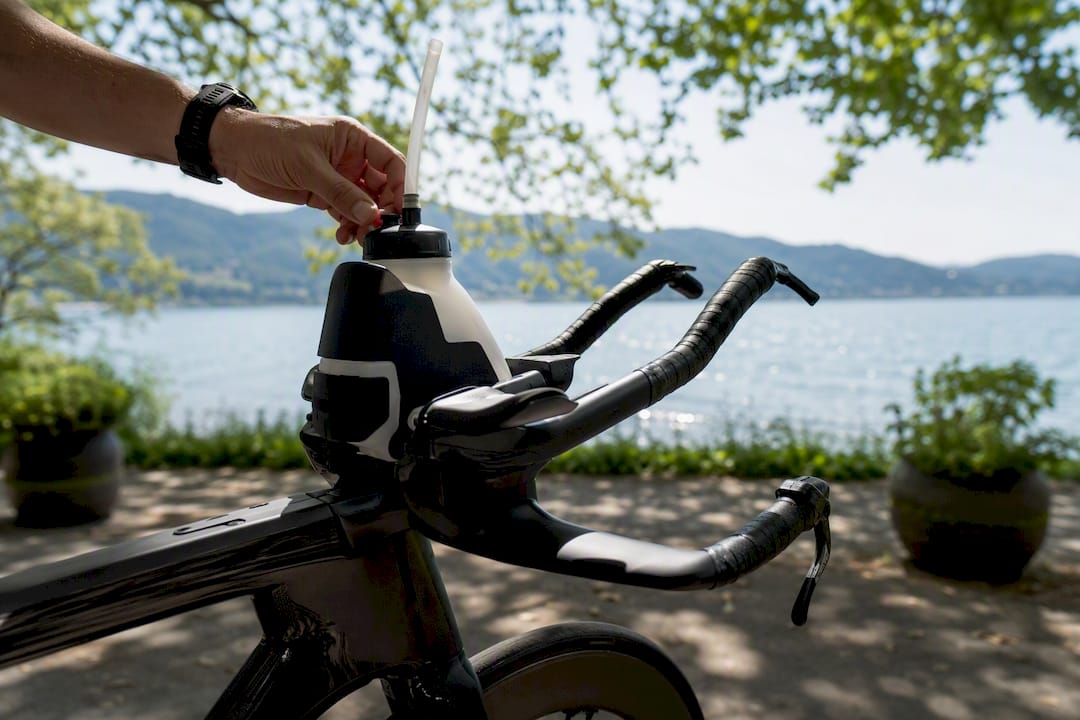
70.3 distance: mixed. This is where setups start to diverge based on rider preference. A BTA bottle handles your primary fluid and carb mix, while a single frame cage or a secure behind the saddle (BTS) bottle acts as backup. The mixed approach balances accessibility with a hedge against a dropped bottle or a hot day that spikes your fluid needs beyond what one bottle holds.
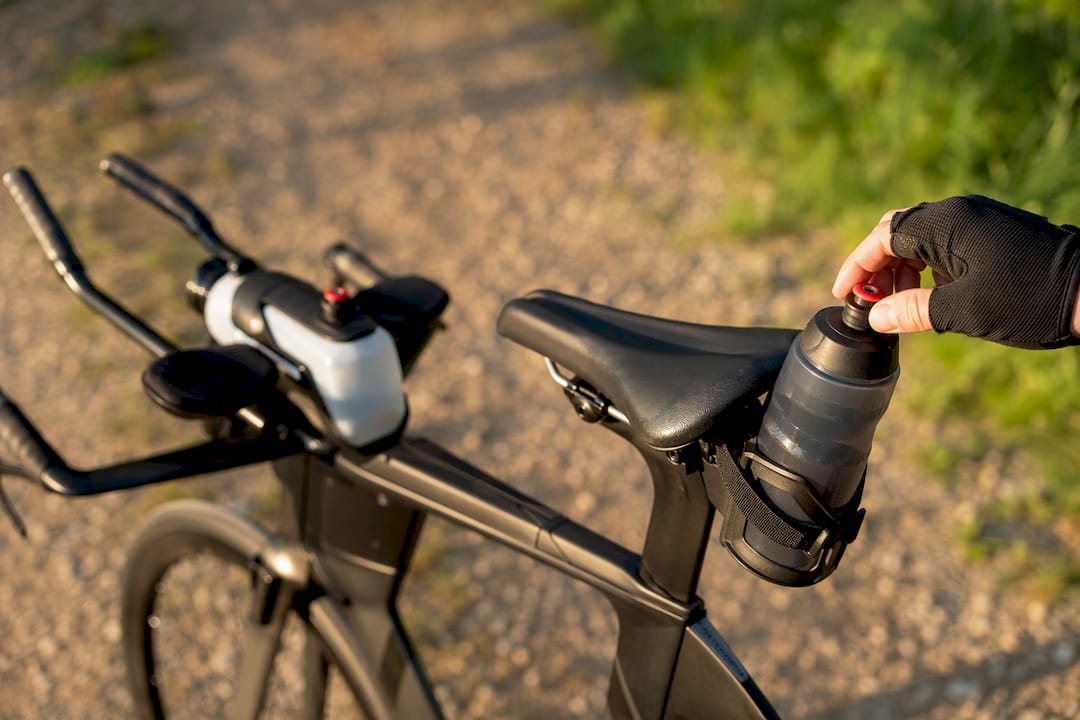
Ironman distance: multi-point. Full-distance racing calls for more capacity than any single bottle can reasonably provide. The most common and effective combination pairs a BTA bottle for continuous sipping with a behind the saddle system for extra capacity, refilled at aid stations roughly every 10 to 15 miles. Some riders opt for an integrated aero reservoir instead of loose bottles; this trims drag further but adds cleaning complexity.
Here’s how the three main mounting positions stack up on the factors that actually matter on race day:
- Between the arms (BTA): best accessibility, strong aero profile, limited capacity (a typical volume suitable for race needs).
- Behind the saddle (BTS): good capacity, decent aero when mounted low and tight, but harder to reach at speed and more exposed to crosswind buffeting.
- Frame cages: easiest to refill at aid stations, worst aero penalty of the three, and prone to bottle ejection on rough roads.
A simple way to think about your options by priority:
- If aero matters most and your race is short, go BTA only.
- If you need a capacity buffer without sacrificing much aero, add one frame cage or a low-profile BTS bottle.
- If your race is long enough that you’ll need multiple refills, plan a BTA plus BTS combination from the start rather than improvising mid-race.
How Should You Mount Your Hydration for Aero Gains?
Mounting geometry decides whether your hydration setup helps or hurts your position. A well-integrated BTA system can save a measurable amount of drag compared with standard frame-mounted bottles, with industry estimates citing gains of 3 to 5 watts at race speeds. That number sounds small until you multiply it across a four or five-hour bike leg.
But watts saved by bottle shape mean nothing if the mount forces you to lift your head or shift your shoulders to drink. Body position preservation is the primary aero factor, consistently outweighing marginal differences between bottle shapes. A boxy bottle you can sip without moving beats a sleek one that makes you sit up.
Setting straw and bite-valve height. Measure your aerobar pad height, then set the straw or bite valve so it reaches your mouth with a small forward tilt of the chin, not a full head lift. Most riders find the sweet spot sits an inch or two above the aerobar extensions. Too low and you’re straining downward; too high and you’re breaking your tuck to reach it.
Stability and routing. Loose tubing flaps in the wind and adds noise, drag, and mental distraction. Secure straws and hoses with small zip-ties or dedicated clamps at two points minimum, keeping the run as flat against the frame or extensions as possible. A tube that swings loose after 40 miles of chip-seal road is a common and preventable failure.
BTS handling caution. Bottles mounted behind the saddle sit in a higher-turbulence zone and can buffet in crosswinds, especially on exposed courses. Mount them low, close to the seat tube, and test in windy conditions before committing to that configuration for race day. A bottle that rattles loose at mile 60 is worse than the aero penalty of a frame cage.
- Keep bite valves within a two-inch reach of your natural aero head position.
- Use two-point tube anchoring to prevent flapping and reduce noise.
- Test BTS bottles in a genuine crosswind, not just calm conditions, before race day.
- Prioritize a system you can sip without lifting your head over one with a marginally better bottle shape.
Pro Tip: Do a “mirror check” on the trainer: set up your full hydration mount, get into your race position, and take a sip. If you have to visibly lift your chin or roll your shoulders forward to reach the valve, adjust the mount before you ever take it outside.
How Much Fluid and Carbohydrate Should You Carry?
Fluid needs scale directly with race length, and getting the volume wrong in either direction costs you time. A sprint or Olympic bike leg generally needs one standard-size bottle. A 70.3 bike leg usually requires a moderate total volume split across bottles. Ironman racing lasts several hours and typically necessitates multiple bottles replenished at aid stations along the course.
Carbohydrate intake matters as much as fluid volume. Most endurance nutrition guidance points toward a moderate carbohydrate intake per hour for long-course racing, split between your bottle mix and solid food like gels or chews. A practical split for Ironman: put a concentrated carb mix in your BTA bottle for continuous small sips, and carry 3 to 4 gels in a top-tube bento box for supplemental fueling. Overstuffing a bento box can add drag and cognitive clutter, so more isn’t automatically better.
Micro-sips beat big gulps. Taking small, frequent sips rather than large gulps preserves steady power output and reduces gut distress, a behavior pattern that shows up consistently across race-fueling research.
Electrolyte needs vary by sweat rate and heat, but a reasonable starting point is 300 to 600 milligrams of sodium per hour, adjusted upward for hot or humid races. Test your mix concentration in training first: a bottle that tastes fine at 60°F can feel syrupy and nauseating in 90°F race heat. Keep concentrated mixes stored cool before the race and dilute at aid stations if your sweat losses run lower than expected.
- Sprint/Olympic: one bottle, minimal carb planning needed.
- 70.3: 40 to 60 ounces total, 60 to 90 grams carbohydrate per hour.
- Ironman: 80 to 120+ ounces with aid-station refills, same 60 to 90 gram carb target sustained longer.
- Test your exact race-day mix concentration in training heat, not room temperature.
Statistic Callout: A well-integrated BTA bottle setup can save an estimated 3 to 5 watts at typical race speeds compared with standard frame-mounted bottles, a gain that compounds meaningfully over a multi-hour bike leg.
When Should You Stop for Aid-Station Refills?
Your refill strategy depends on aid-station spacing and your setup’s total capacity. If stations appear every 10 to 15 miles and your bottles hold enough to bridge that gap comfortably, you can favor a lighter, more aero setup and refuel often. If stations are sparse or your race runs hot, carrying more capacity upfront reduces your dependence on stopping at all.
Practice your refill technique before race day. Approach the aid station at a controlled speed, call out your need early, grip the new bottle firmly before releasing the old one, and stow the empty rather than dropping it dangerously into another rider’s path. A clean hand-up takes seconds; a fumbled one can cost you a bottle and several minutes chasing it down.
Rule compliance matters as much as technique. World Triathlon’s updated hydration rules set limits on total frame hydration capacity and restrict attaching equipment directly to the handlebars, which affects whether certain rear carriers or aftermarket mounts are legal for your race. Rules change between seasons, so check the current document rather than assuming last year’s setup still qualifies.
- Confirm your total mounted hydration capacity against current World Triathlon limits.
- Verify no attachment mounts directly to the handlebars in a way the rules restrict.
- Practice at least one full hand-up refill in training at race pace.
- Recheck rules within a few weeks of race day, since limits have shifted before.
Statistic Callout: Rule changes from World Triathlon have previously removed popular mounting configurations outright, which is why checking the current rule PDF before finalizing race-day gear isn’t optional.
How Do You Test a Hydration Setup Before Race Day?
Testing separates setups that survive race day from ones that fail in the first hour. The best hydration system is the one you’ve practiced until it’s boring, and that boredom only comes from repetition. Plan four to five long training rides on your race setup, ideally covering different wind conditions and including at least one simulated aid-station stop where you practice grabbing and stowing bottles at speed.
Watch for these common failure points:
- Tube slip: the straw or hose works loose from its mount after repeated vibration; fix with a second zip-tie point.
- Leaks at the cap seal: often caused by over-tightening or a worn gasket; replace the seal rather than forcing the cap.
- Hard-to-reach valves: if you’re lifting your head to sip, the mount is positioned wrong, not you.
During each test ride, take a sip at your actual race power output, not while soft-pedaling, to confirm you can drink without losing form. Log what worked and what didn’t after every ride. If a component still causes hesitation after three attempts, simplify it before race week rather than hoping it resolves itself.
Pro Tip: Keep a short training log entry after each hydration test ride: one line on what failed, one line on the fix. By your fourth ride, that log becomes your race-day setup checklist.
What Should You Prioritize When Finalizing Your Setup?
Three things matter more than anything else when you’re locking in a race-day hydration setup. First, pick the configuration you can sip from without breaking your aero position, every time, at race power. Second, confirm it’s legal under current World Triathlon rules before you finalize any hardware. Third, choose reliability over marginal aero gains whenever the two conflict.
That third point is where I see triathletes go wrong most often. A slightly less aerodynamic bottle that never fails beats a sleeker one that occasionally slips its mount. The watts you save from a better bottle shape are real but small; the minutes you lose to a dropped bottle or a fumbled refill are not. Test everything, log the results, and let the data, not the marketing copy, decide what goes on your bike.
— Matt
Where to Find Race-Ready Hydration Hardware
Once you know which setup fits your race, the harder part is finding hardware that actually performs the way it’s supposed to under load. Sportfactoryproshop curates aero bottle systems, frame cages, and mounting hardware specifically selected for triathletes who need gear that survives a full Ironman bike leg without shifting, leaking, or fighting your aero position.

Browse the site’s hydration category to compare BTA and BTS options side by side, or reach out for fit guidance if you’re unsure which combination suits your race distance and cockpit setup. For fueling logistics on longer rides, a compact mixing solution for on-bike nutrition pairs well with the carb-mixing approach covered above. Start by checking Sportfactoryproshop’s current hydration lineup and building your race setup around gear that’s already proven itself on race courses, not just in a showroom.
Sources
Before finalizing your setup, read the primary rule document and the practitioner guides behind this article’s recommendations. Start with World Triathlon’s fairings and attachments guidance to confirm your capacity and mounting choices are legal.
- World Triathlon fairings & attachments guidance (hydration rules)
- The Best Hydration Setup for an Ironman
Rules shift between seasons, so recheck the official document close to your race date rather than relying on last year’s configuration.