


How to Fix Roof Rack Wind Noise for Good
Posted by Matt Russ on 5th Aug 2026
How to Fix Roof Rack Wind Noise for Good
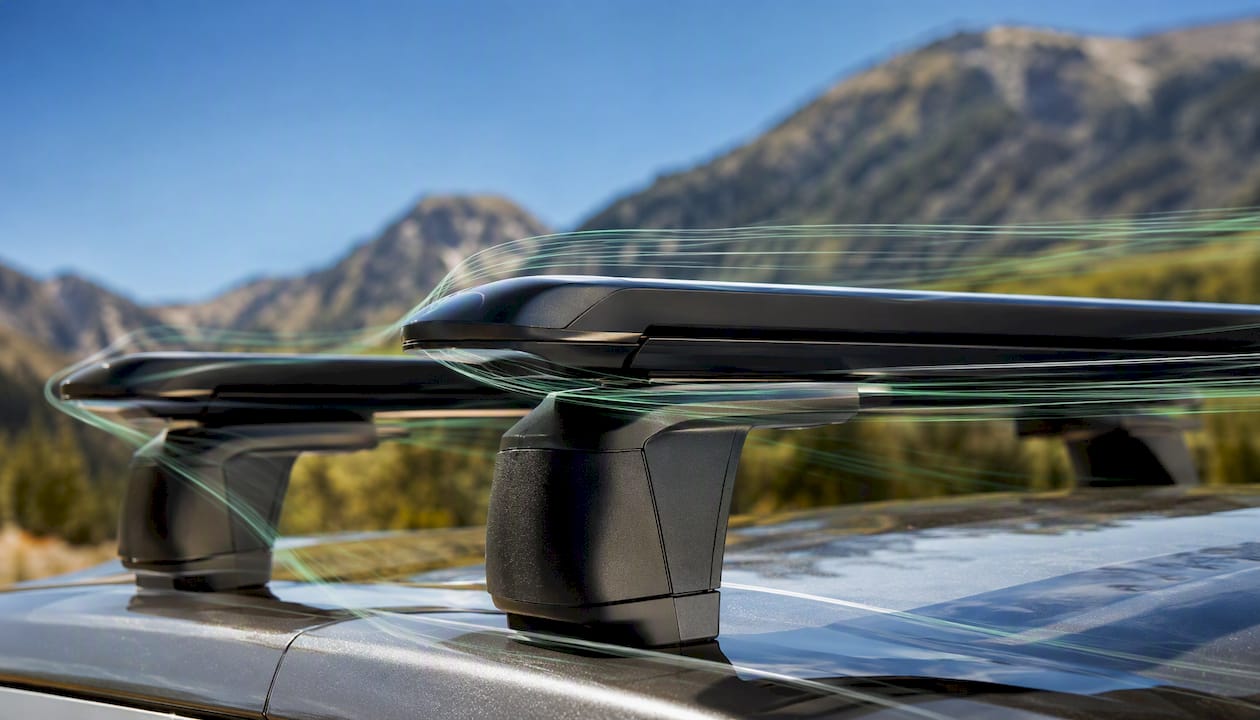
You can dramatically reduce or eliminate roof rack wind noise in most cases by checking your installation first and adding a front fairing if needed. Before spending money on new bars, try this right now: tighten your crossbar feet, confirm rubber inserts are seated in the T-track with no gaps, and snap the end caps firmly into place. That single step resolves the whistle for a surprising number of drivers.
- Check rubber T-track inserts (missing or loose inserts are the most common culprit)
- Tighten all mounting feet and verify bars sit level across the roof
- Lock end caps on both sides of each bar
- As a temporary fix, wrap a bungee cord snugly around the leading edge of the front bar to disrupt airflow
Pro Tip: Before driving to a parts store, do a quick 55 mph test run with everything removed from the bars. If the noise drops significantly, the bars themselves are fine and an accessory or loose insert is the real source.
Fixing roof rack wind noise usually costs nothing. Most whistling comes from an installation gap, not the rack itself. Check the rubber inserts and end caps before buying anything new.
Key Takeaways
Fixing roof rack wind noise starts with installation, not new parts — most whistling stops once rubber inserts are seated, end caps are locked, and bars are level.
| Point | Details |
|---|---|
| Check installation first | Seated feet, filled T-tracks, and locked end caps resolve most whistling before any purchase is needed. |
| Bar shape changes noise level | Aero wing bars produce significantly less noise than round or square bars, especially above 55 mph. |
| Open bars vs. cargo boxes | Open-bar racks can add around 20 dB more cabin noise at 50 mph compared with aerodynamic cargo boxes, and this difference can grow to more than 30 dB at 75 mph. |
| Fairings deliver real results | A front-mounted fairing redirects airflow and often eliminates highway-speed whistling after installation issues are fixed. |
| Sportfactoryproshop | Stocks cycling-compatible rack accessories and bar covers to help riders keep their setup quiet and secure. |
Table of Contents
- Why does your roof rack make wind noise?
- Step-by-step checklist to stop the whistling fast
- Which rack type is quietest?
- Do wind deflectors actually work?
- How to confirm the rack is actually the noise source
- What to buy if you need a hardware upgrade
- Low-cost DIY fixes you can try today
- Aftermarket noise-dampening materials and solutions
- A realistic take on what “quiet” actually means
- Sportfactoryproshop has the gear to back up every fix
- Sources
Why does your roof rack make wind noise?
Crossbars, mounting brackets, and cargo carriers stick into the airstream and create turbulence, and vehicle speed amplifies the effect considerably. The physics behind that familiar highway whistle has a name: Aeolian tones, produced when air flows past a cylindrical or blunt object and sheds alternating vortices behind it. This phenomenon, called Kármán vortex shedding, generates a tonal frequency that rises with speed, which is why the pitch often climbs as you accelerate past 50 mph.
Bar shape plays a major role. Round and square bars present a blunt face to the wind, creating a wide, turbulent wake. Wing-shaped or “aero” bars taper to a trailing edge, which keeps airflow attached longer and reduces vortex formation. The difference is audible and measurable: open-bar racks and cargo baskets generally add noticeably more cabin noise at highway speeds compared with aerodynamic cargo boxes, with the gap growing at higher speeds.
Mechanical causes are just as common as aerodynamic ones. The most frequent offenders:
- Missing or cut-short rubber T-track inserts — the open channel acts like a flute, resonating at speed
- Loose or unlocked end caps — even a small gap creates a whistle point
- Improperly seated feet — bars that sit slightly tilted catch air unevenly
- Accessories and straps — a loose strap buckle or bike fork mount can vibrate independently of the bars
Step-by-step checklist to stop the whistling fast
Work through these steps in order. Test at speed after each one before moving to the next.
-
Road test to isolate the source. Drive at 35, 55, and 70 mph with windows closed. Note at which speed the noise starts and whether it changes pitch. Remove all accessories and repeat. If the noise drops with an empty rack, an accessory is the source.
-
Run the installation checklist. Incorrect installation is the most common cause of excessive noise, according to Thule’s own support documentation. Check that bars are level (use a small level or the vehicle’s built-in display), feet are fully seated on the rails, rubber T-track inserts fill the channel end-to-end with no gaps, and end caps are locked. Rhino-Rack’s guidance specifically calls out rubber strips cut to the correct length as a primary noise-control step.
-
Reposition the bars. Move the front bar forward 2–3 inches and the rear bar back the same amount, then re-test. Spacing the bars farther apart changes the resonance frequency and often reduces tonal whistling.
-
Try a temporary airflow disruptor. Wrap a bungee cord tightly around the front bar’s leading edge, or lay a foam rack pad across it. This breaks up the vortex pattern. If noise drops noticeably, you have confirmed the front bar is the main source and a fairing will likely solve it permanently.
-
Install a wind deflector or remove the rack. If steps 1–4 didn’t fully resolve the noise, a front fairing is the next logical upgrade. Fairings redirect airflow and are effective at eliminating or greatly reducing whistling at highway speeds. If you rarely use the rack, removing it entirely eliminates noise and improves fuel economy, per Yakima’s own support guidance.
Pro Tip: Always test with windows fully closed. Cracked windows create their own resonance that can mask or mimic rack noise, making it harder to isolate the real source.
Which rack type is quietest?
Bar shape and rack design have a direct impact on how much noise you hear at highway speeds. Here is how the main types compare:
- Aerodynamic wing/edge bars (e.g., Thule WingBar, Yakima JetStream): These deliver the best noise reduction of any crossbar type. The tapered profile minimizes vortex shedding and typically produces little to no tonal whistle when correctly installed.
- Round load bars: Moderate noise. Better than square bars because the circular profile sheds vortices more uniformly, but still louder than aero profiles at speeds above 55 mph.
- Square/rectangular bars: Loudest of the three crossbar types. The flat leading face creates a wide turbulent wake and pronounced Aeolian tones.
- Hard cargo boxes: Surprisingly quiet. A well-shaped box presents a smooth, enclosed surface to the wind. The noise difference versus open bars can reach roughly 20 dB at 50 mph, and can approach or exceed 30 dB at 75 mph.
- Cargo baskets: Loudest overall. The open lattice structure creates turbulence at every crossmember.
| Type | Noise reduction | Cost to upgrade | Installation difficulty | Best use-case |
|---|---|---|---|---|
| Aero wing bars | High | Moderate–high | Moderate | Empty bars, light loads, daily driving |
| Round load bars | Medium | Low | Low | Occasional use, heavier loads |
| Square bars | Low | Lowest | Low | Budget builds, short trips |
| Hard cargo box | High | High | Moderate | Long highway trips with gear |
| Cargo basket | Very low | Low–moderate | Low | Off-road, bulky items, slow speeds |
Replacement is worth considering when your current bars are square or round and you drive highways regularly. For occasional use, a fairing or rubber inserts often deliver enough improvement without the cost of new bars. Manufacturer notes consistently point out that installation errors, not bar shape alone, cause the most excessive noise, so fix the installation before upgrading hardware.
Do wind deflectors actually work?
Yes, and a front-mounted fairing is often the single biggest improvement you can make after fixing installation issues. A fairing mounts to the leading edge of the front crossbar and angles the airflow up and over the rack rather than letting it slam into the bar face. Fairings are purpose-built to redirect airflow and are effective at eliminating or greatly reducing whistling, particularly at highway speeds where vortex shedding is strongest.
What to look for when buying a fairing:
- Vehicle compatibility: Fairings are sized by bar width. Measure your front bar’s length before ordering.
- Mounting method: Most clip onto the bar’s T-track or clamp around the bar. Confirm the mounting system works with your specific bar profile.
- Accessory clearance: A fairing mounted too close to a bike fork or cargo box can interfere with loading. Check the clearance before you commit.
- Vehicle-specific options: Brands like Thule and Yakima offer fairings matched to their own bar systems, which typically deliver better fit and fewer vibration points than universal options.
Installation steps:
- Measure the front crossbar length and select a fairing rated for that width.
- Center the fairing on the bar and align it so the leading edge angles upward at roughly 15–20 degrees.
- Clamp or clip it firmly, checking that no part of the fairing can flex or rattle at speed.
- Road test at 55 and 70 mph. A well-fitted fairing should noticeably reduce or eliminate the whistle.
A fairing won’t fully solve noise caused by loose inserts, vibrating accessories, or a poorly seated foot. Address those installation issues first, then add the fairing as a final refinement.
How to confirm the rack is actually the noise source
Persistent noise that survives an installation check needs a structured test before you spend money. Community troubleshooting consensus consistently recommends changing one variable per run so you can pinpoint the source.
- Baseline run: Drive at 35, 55, and 70 mph on a quiet road with windows fully closed. Note the speed at which noise begins and its character (tonal whistle vs. broadband rush).
- Remove all accessories: Take off bikes, boxes, straps, and any add-ons. Repeat the run. A meaningful drop in noise confirms an accessory is contributing.
- Test empty bars: If noise persists with bare bars, it is the bars or mounting hardware. Proceed to the installation checklist.
- Use a phone sound meter app: Apps like NIOSH SLM (free, from the National Institute for Occupational Safety and Health) can log approximate dB levels inside the cabin. A reduction of 5 dB or more between runs is a clear, audible improvement and confirms the change made a difference.
- One variable per run: Change only one thing between each test (reposition one bar, add one insert, mount the fairing). Changing multiple things at once makes it impossible to know what worked.
A meaningful improvement is one you can hear clearly at 55 mph with windows closed. If the noise is still present but softer, continue down the checklist. If it is gone at 55 but returns at 70, a fairing or aero bar upgrade is the logical next step.
What to buy if you need a hardware upgrade
Once you have confirmed the noise source, shopping is straightforward. Focus on these categories:
- Aerodynamic crossbars: Thule WingBar and Yakima JetStream are widely available at U.S. retailers and online. Both use a wing profile that reduces vortex shedding. Check rail spacing and foot compatibility before ordering; flush-rail and raised-rail vehicles use different foot systems.
- Wind fairings: Thule and Yakima each sell fairings sized to their own bar widths. Rhino-Rack offers universal fairings that fit a range of bar profiles. Confirm bar length and mounting track type before purchase.
- Rubber T-track inserts: Available from all three manufacturers and as aftermarket strips. Buy slightly longer than needed and trim to fit with no gaps at the ends.
- Padded rack covers / rack pads: Neoprene or foam pads wrap around the bar and disrupt the vortex. Useful as a low-cost interim fix or for protecting the bar finish.
- Aero cargo boxes: Hard-shell boxes from Thule and Yakima present a smooth profile to the wind and are significantly quieter than open baskets at highway speeds.
For U.S. buyers, confirm compatibility using the manufacturer’s online fit guide (Thule’s Fit My Car tool and Yakima’s FitGuide both accept year/make/model). Aluminum aero bars are lighter and quieter than steel load bars at equivalent widths, though steel bars handle heavier loads. Always review the manufacturer’s installation instructions before modifying mounting hardware.
Low-cost DIY fixes you can try today
Not every fix requires a trip to the store. Several simple materials can reduce noise immediately:
- Bungee cord wrap: Loop a bungee cord tightly around the front bar’s leading edge. The irregular surface breaks up the smooth airflow that causes vortex shedding. This is a proven temporary fix, not a permanent solution.
- Foam pipe insulation: Split a length of foam pipe insulation and clip it over the front bar. It disrupts airflow similarly to a bungee and costs under $5 at any hardware store.
- Neoprene rack pads: These serve double duty: they protect the bar finish and dampen vibration. Secure them with the included straps or zip ties so they cannot shift at speed.
- T-track filler strips: If you cannot source manufacturer inserts immediately, a strip of closed-cell foam tape pressed into the T-track channel fills the gap and stops the flute resonance.
Safety matters with any DIY fix. Secure everything so it cannot detach at highway speed. Avoid wrapping materials around the bar feet or mounting points, as this can interfere with the foot’s grip on the rail. Never use solutions that block drainage channels in the foot housing.
Pro Tip: Foam pipe insulation works well as a short-term fix, but UV exposure degrades it within a season. Replace it with a proper rubber insert or fairing before the next summer.
Aftermarket noise-dampening materials and solutions
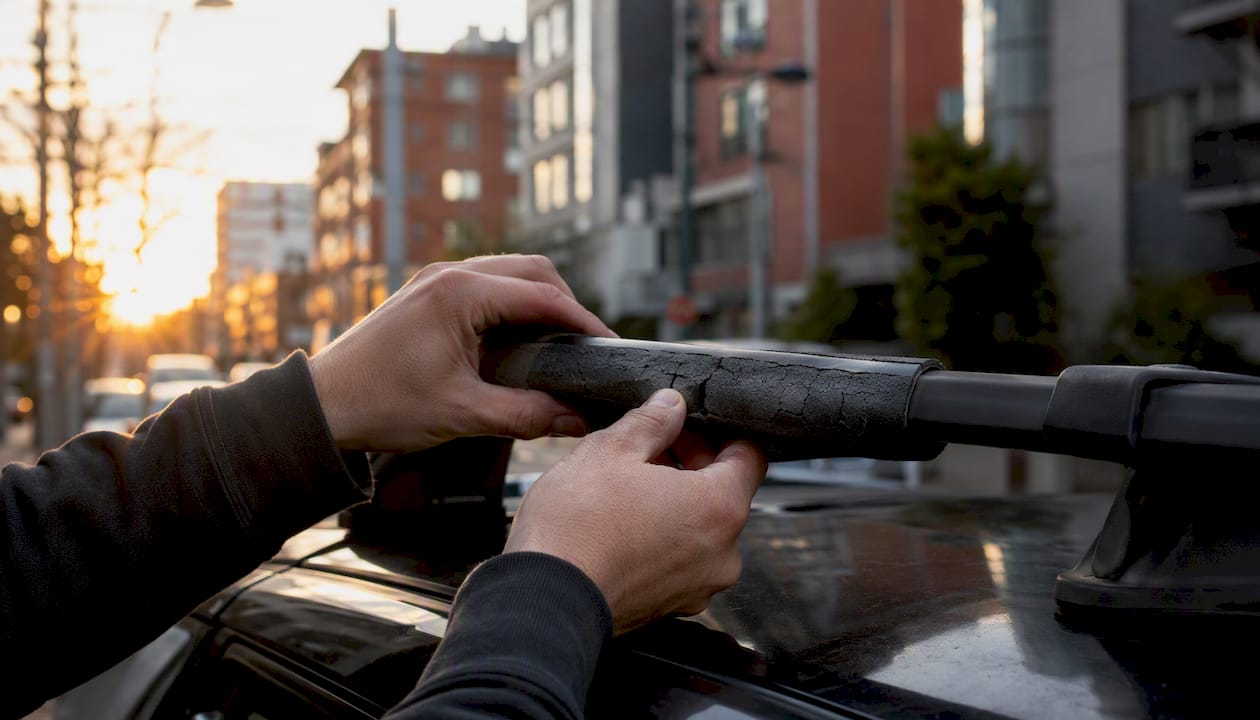
Beyond the basic rubber inserts and fairings, a small category of aftermarket products targets rack noise specifically. Neoprene bar wraps, sold by brands like Yakima under the name “rack pads,” add a compliant layer between the bar and the airstream that absorbs some vibration energy rather than just deflecting it. Foam-core bar covers work on a similar principle and are compatible with most round and square bars.
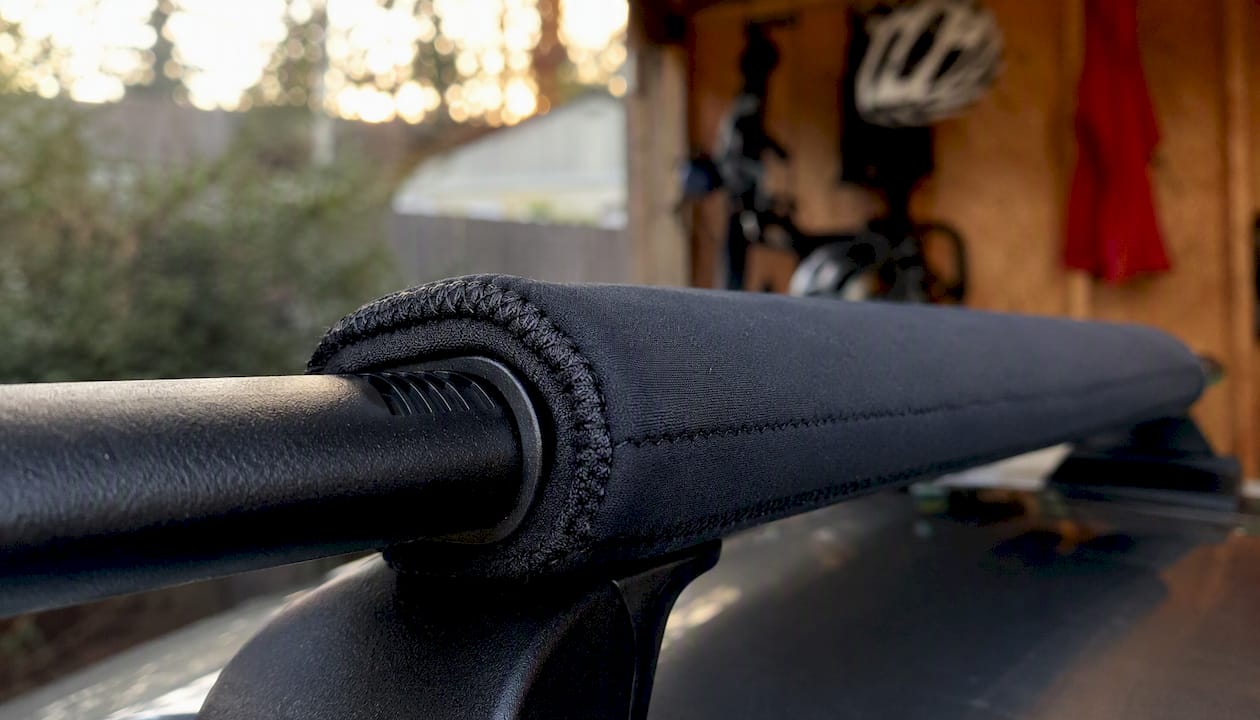
Acoustic foam strips, cut to fit the T-track channel, go a step further by addressing both the flute resonance and minor vibration from accessories. These are available at U.S. auto parts stores and online as generic weatherstrip foam. The key is choosing a closed-cell foam that resists compression over time; open-cell foam compresses within weeks and loses its sealing effect.
For persistent low-frequency rumble rather than a tonal whistle, the source is usually vibration transmitted through the mounting feet into the roof. Thin rubber gasket material placed between the foot pad and the roof rail can dampen this path. Check that the foot’s rubber pad is not worn or cracked before adding material on top of it.
A realistic take on what “quiet” actually means
The honest answer is that some residual noise is normal with any roof rack, and complete silence at 70 mph is not a realistic target for most setups. Vehicle aerodynamics vary widely: a boxy SUV creates more turbulence around the roofline than a sloped sedan, and that background turbulence sets a noise floor the rack sits on top of.
What you can realistically achieve is a rack that does not whistle, does not hum, and does not add noticeably to cabin noise at highway speeds. Correctly installed aero bars with filled T-tracks and a front fairing get most setups there. The remaining noise, if any, is usually broadband wind rush rather than the tonal whistle that drives people to forums at midnight.
Maintenance matters more than most owners expect. Check rubber inserts, end caps, and fastener torque at the start of each season and after any trip that involved heavy rain, a car wash, or rough roads. Rubber degrades over time, and a T-track insert that sealed perfectly last summer may have shrunk or cracked by spring. Replacing inserts annually costs a few dollars and prevents the noise from returning.
When removal is the right call: if you use the rack fewer than a handful of times per year, the math favors taking it off between uses. You get a quieter cabin, better fuel economy, and less UV wear on the rubber components.
Sportfactoryproshop has the gear to back up every fix
Cyclists who carry bikes on their vehicles know that rack noise is not just annoying — it is a distraction on the way to a ride. Sportfactoryproshop stocks the cycling accessories and rack-compatible gear that serious riders actually use, from padded bar covers and straps to the components that keep your setup secure and quiet on the road.

If you are already dialing in your rack setup, it makes sense to pair it with gear that matches the same standard. Sportfactoryproshop curates products selected for engineering quality and rider-focused performance, so you are not sorting through generic options. Browse the full range at Sportfactoryproshop and find the accessories that fit your vehicle and your riding goals.
Sources
These pages provide vehicle-specific fit guides, installation instructions, and community troubleshooting threads worth bookmarking before you modify any mounting hardware.
- Why do roof racks make noise? - Rack Traveler
- How to stop roof rack wind noise - Soundproof Central
- MY roof rack is noisy — what can I do? - Thule Support
- Rack is making noise – Yakima Racks
- How to reduce roof top wind noise | Rhino-Rack
- How to Stop Roof Rack Wind Noise - BikePush
- Can My Roof Rack Cause Extra Wind Noise? - J & F Motors
Consult your vehicle manufacturer’s roof load rating and the rack manufacturer’s torque specifications before adjusting or repositioning mounting hardware.