


Presta Valve Core Removal: Safe, Tool-First Guide
Posted by Matt Russ on 4th Aug 2026
Presta Valve Core Removal: Safe, Tool-First Guide
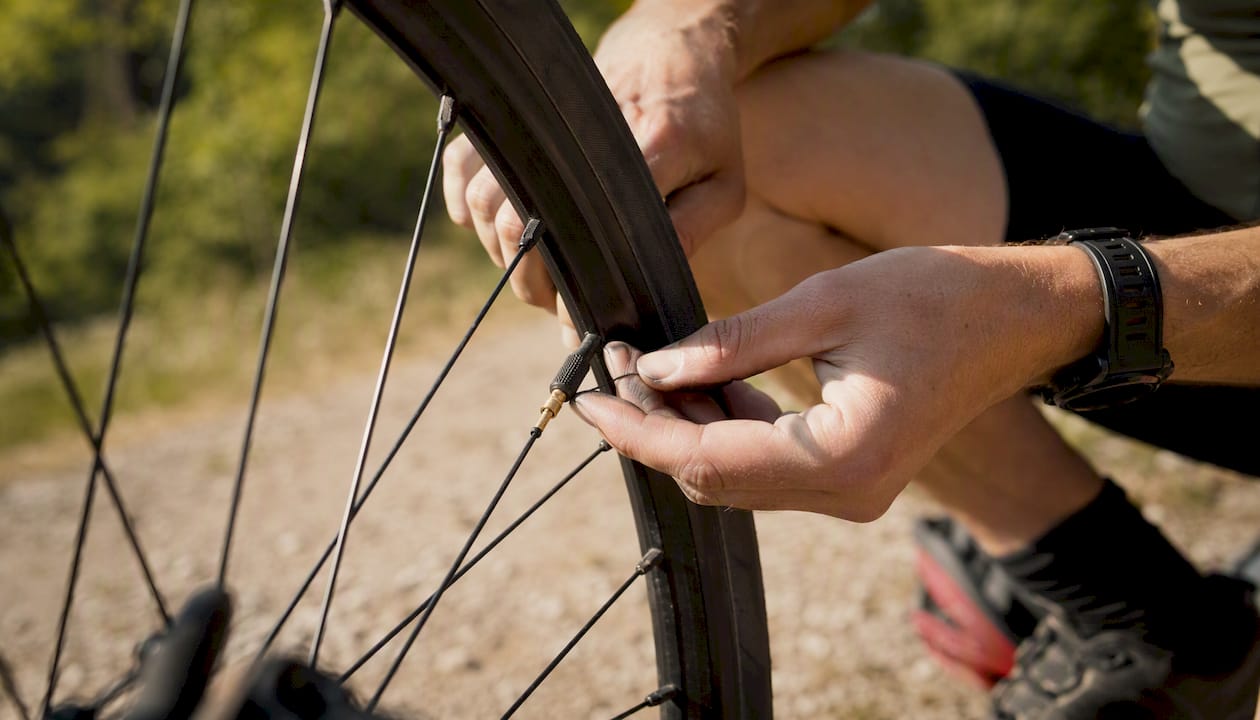
Most modern Presta valve cores are removable, and pulling one out safely takes only a short time when you have the right tool. The fastest, safest method is a dedicated Presta valve-core remover: deflate the tire completely, seat the tool on the two small flat sides of the core, turn counterclockwise, and lift the core free. That’s the whole procedure in one sentence.
Two quick decision points before you start:
- Flats visible on the upper shaft → use a valve-core remover, turn counterclockwise, and the core comes right out.
- Shaft is smooth and round, no flats → the core is fixed. Don’t force it. Replace the tube or the entire valve stem instead.
Table of Contents
- How to tell whether your Presta valve core is removable
- Step-by-step removal using a dedicated Presta valve-core remover
- Reinstalling the core and testing for a proper seal
- Dealing with stuck, corroded, or spinning valve cores
- When and why you’d remove a Presta valve core
- What tool to buy and spare parts to keep
- Safety notes for handling sealant and tubeless-specific cautions
- Key takeaways
- The case for making this a standard part of your kit
- Sportfactoryproshop has the tools to keep you rolling
- Useful sources and further reading
How to tell whether your Presta valve core is removable
The check takes about ten seconds. Flip the wheel so the valve faces you, unscrew the small brass locknut at the tip, and look at the narrow shaft just below the threaded section. A removable core has two small, parallel flat sides machined into that shaft. Those flats are what a core tool grips. According to MOOVMOOV’s removal guide, identifying these flats is the first and most critical step before attempting any removal.
If the shaft is smooth and perfectly round all the way down, the core is pressed or bonded in place. Attempting to unscrew it will strip the valve body or tear the base grommet.
Quick inspection checklist:
- Position the wheel so the valve is at eye level.
- Unscrew and pocket the brass tip locknut.
- Shine a phone light at the upper shaft.
- Look for two flat, parallel faces. If you see them, you’re good to go.
- If the shaft looks round from every angle, stop here.
Pro Tip: Run your thumbnail across the shaft. A removable core has a slight edge where the flat meets the round section. A fixed core feels uniformly smooth.
Step-by-step removal using a dedicated Presta valve-core remover
A dedicated valve-core tool is the right call here. It’s compact, costs just a few dollars, and is precisely sized to grip the flats without touching the threaded tip or the valve body. Using one correctly means you’ll never round a flat or strip a thread. The MOOVMOOV guide and Laxzo’s replacement tutorial both confirm that overtightening and aggressive tool work are the leading causes of snapped or damaged cores, making a gentle, tool-first approach non-negotiable.
Numbered steps:
- Secure the wheel in a stand or lay the bike on its side so it won’t roll.
- Unscrew the brass locknut at the top of the valve and set it somewhere safe.
- Deflate the tire completely. Press the valve pin until no air remains.
- Rotate the wheel so the valve sits at the lowest point of the rim. This keeps sealant from flooding the rim bed when the core comes out.
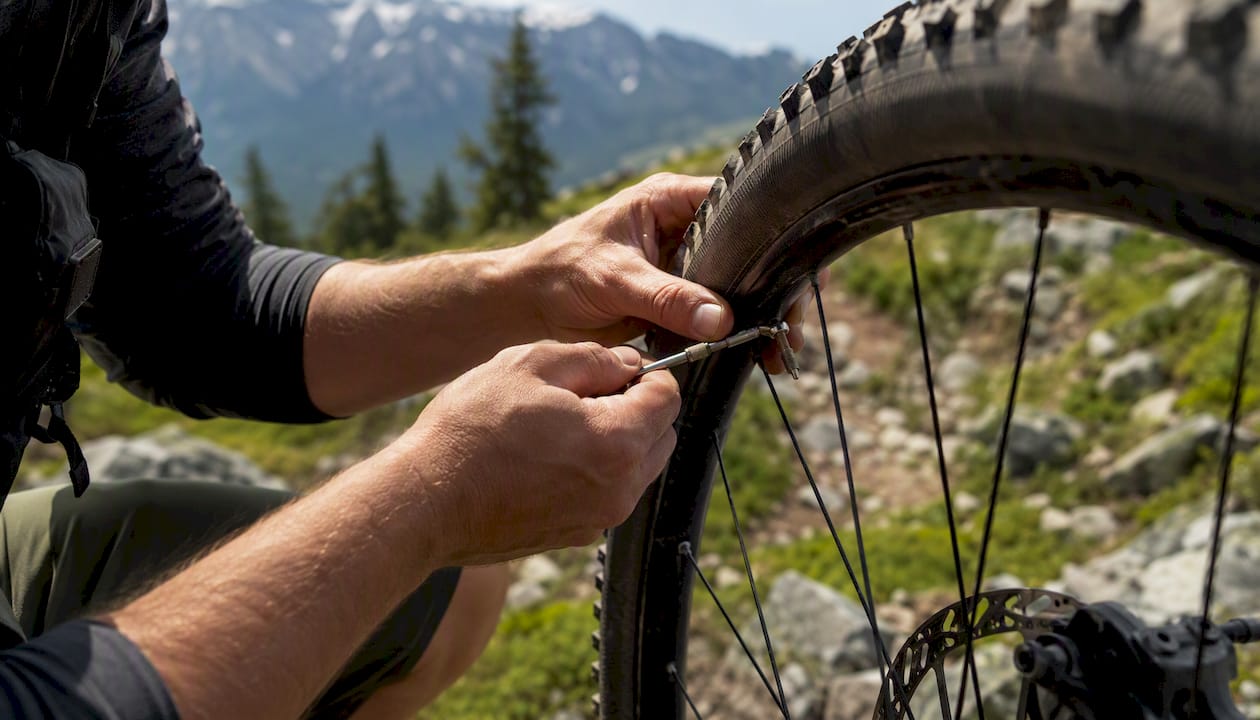
- Seat the valve-core remover squarely on the two flats.
- Turn counterclockwise with steady, gentle pressure. Three to four full turns typically frees the core.
- Pull the core straight out. Have a rag or small tray underneath to catch sealant drips.
- Inspect the core and the valve seat before reinstalling or replacing.
Safety notes: Wear eye protection any time you’re working with a tubeless setup. Keep your face to the side of the valve, not directly above it. Sealant can spray when the core releases, especially if any pressure remains.
Pro Tip: Spin the wheel so the valve is at the six-o’clock position before removing the core. Sealant pools at the bottom of the tire, so a low valve means far less liquid flows out through the stem.
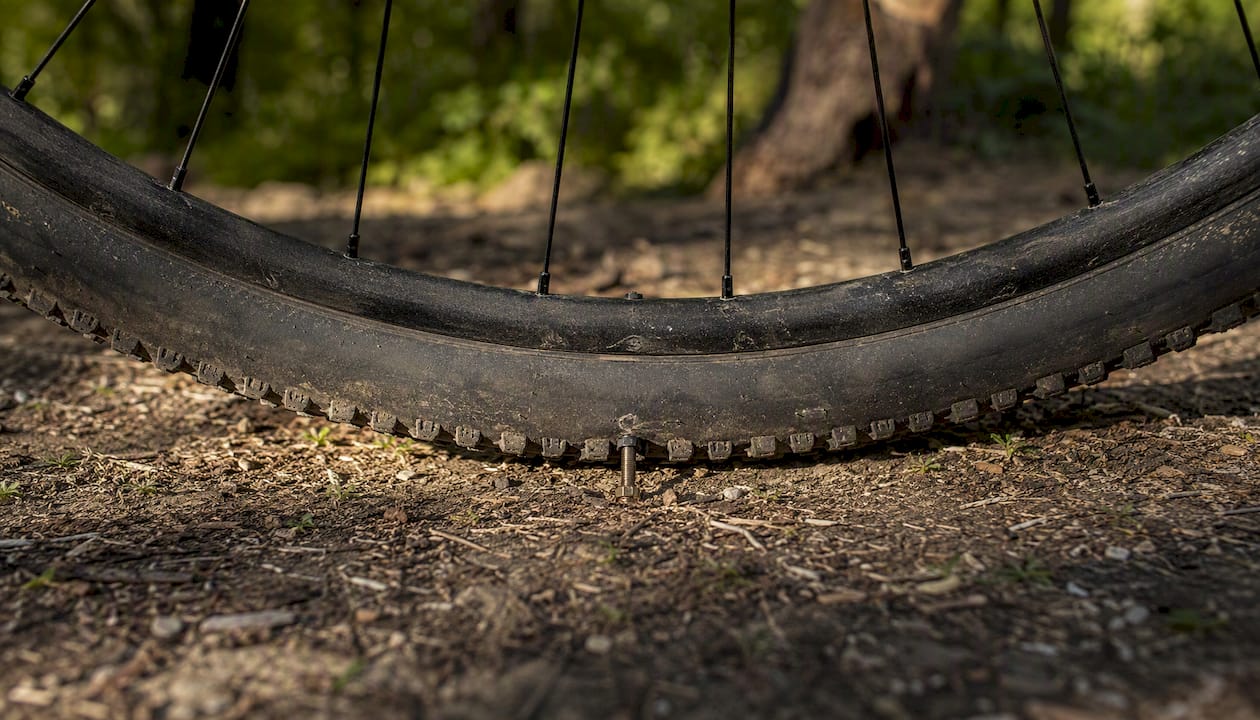
Reinstallation: Thread the core in by hand first, clockwise, until it seats. Then use the tool for one light final snug. That’s it. Overtightening cracks the brass and is one of the most common causes of a core that snaps mid-ride.
Reinstalling the core and testing for a proper seal
Thread the core in clockwise by hand until it stops, then use the tool for a single light quarter-turn to snug it. That’s the full torque spec. The Laxzo reinstall guide is clear that a clean core seated by hand and nipped with a tool holds air reliably — no extra force needed.
Post-reinstall checklist:
- Wipe the valve seat clean before dropping the core in.
- Thread by hand, clockwise, until finger-tight.
- One light snug with the tool. Stop there.
- Re-inflate gradually to your target PSI.
- Apply soapy water around the valve base and the core junction. Watch for bubbles.
- If you hear a hiss or see bubbles, remove the core, inspect the seat and the base grommet, and try a fresh core.
Pro Tip: If a leak persists after two fresh cores, the problem is usually the rim tape or the base grommet, not the core itself. Check that the tape fully covers the spoke holes and that the grommet sits flat against the rim bed.
Dealing with stuck, corroded, or spinning valve cores
If the core is seized or the flats are already rounded, stop aggressive attempts immediately. Forcing a stuck core strips threads and can spin the entire valve stem, which tears rim tape and breaks the base seal. Follow a cautious escalation instead.
Decision flow for a stuck core:
- Dried sealant blocking the core: Soak the valve in warm water for a few minutes to soften the sealant skin, then try the tool again with gentle pressure.
- Light corrosion: A small drop of penetrating oil at the base of the core, left for five minutes, often frees a mildly seized core.
- Flats are rounded: The core is done. Replace it rather than risk stripping the valve body.
- Stem spins when you apply torque: Stop. The base grommet is failing or the valve is already loose in the rim. Visit a shop or replace the valve stem entirely.
According to stewartjamieson.co.uk’s Presta valve guide, replacing the whole valve stem or inner tube is safer than forcing a seized core when corrosion or severe damage is present.
When to replace the valve or tube entirely:
- Continuous leaks after reseating two or more fresh cores.
- Badly corroded brass that crumbles under light tool pressure.
- Damaged rim interface or torn rim tape that no longer seals around the base.
Pro Tip: Keeping the valve cap on between rides is the single most effective way to prevent corrosion. Caps cost nothing and block road grit and moisture from reaching the core threads.
When and why you’d remove a Presta valve core
The most common reasons are seating tubeless beads, injecting or refreshing sealant, increasing airflow for rapid inflation, and replacing a leaking core. BikeHike’s Presta repair guide notes that removable cores are increasingly standard on tubeless setups precisely because these tasks come up regularly.
Common reasons to remove the core:
- Clearing dried sealant: A pipe cleaner or toothpick through the open stem removes sealant skin that blocks airflow. BikeTips’ tubeless valve maintenance guide recommends doing this check every time you refresh sealant.
Not every Presta valve is removable. Tubes with fixed cores require a full tube swap when the core fails.
What tool to buy and spare parts to keep
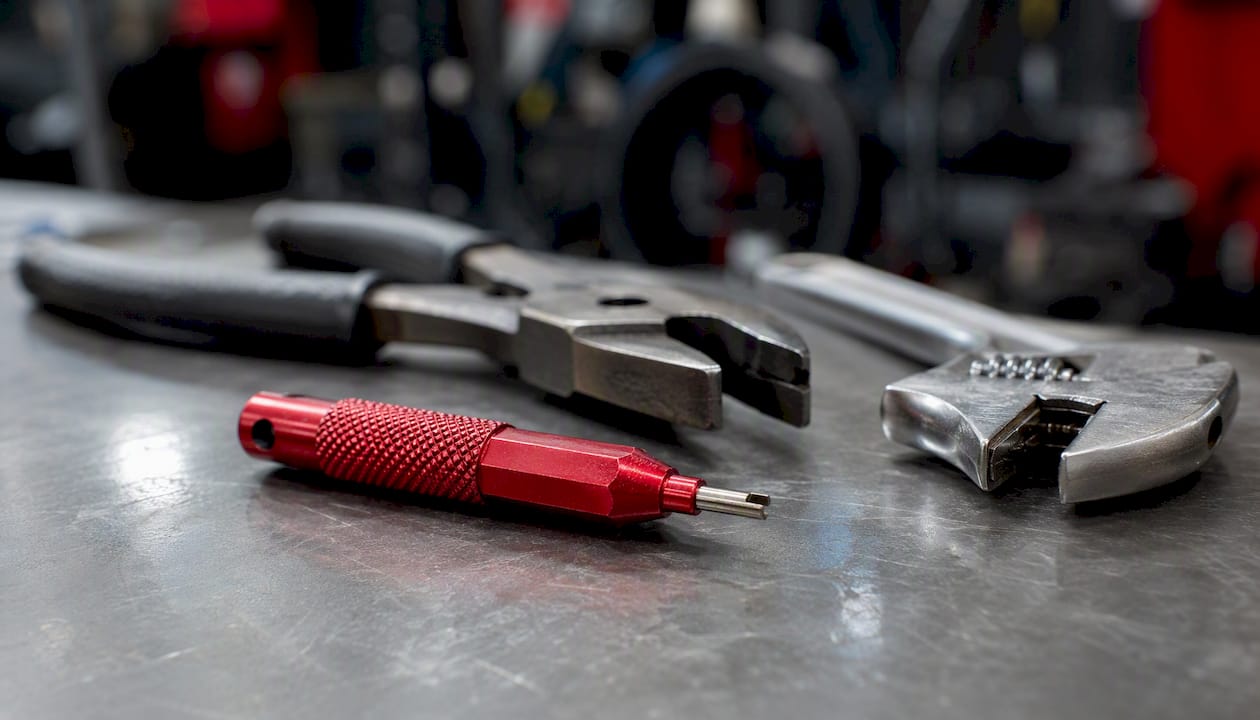
Buy a small, dedicated Presta valve-core remover. Look for one machined from aluminum or non-marring steel with a notch sized for standard Presta flats. It should fit in a jersey pocket or a small saddle bag without adding noticeable weight. Compatibility with valve extenders is worth checking if you run deep-section rims.
Spare parts to carry:
- 2–3 spare standard Presta cores (they weigh almost nothing and cost very little).
- A small amount of compatible tubeless sealant for top-ups.
- A rag or microfiber cloth for sealant drips.
- A small cap or tray to catch sealant when the core comes out.
BikeTips recommends carrying a core remover, spare cores, and a rag as a standard field kit for tubeless riders.
| Tool | Safety | Precision | Portability | Relative cost |
|---|---|---|---|---|
| Dedicated core remover | Low risk | High | Pocket-sized | Low |
| Smooth-jaw pliers | Medium risk | Medium | Moderate | Low |
| Adjustable wrench | Medium-high risk | Low | Bulky | Low |
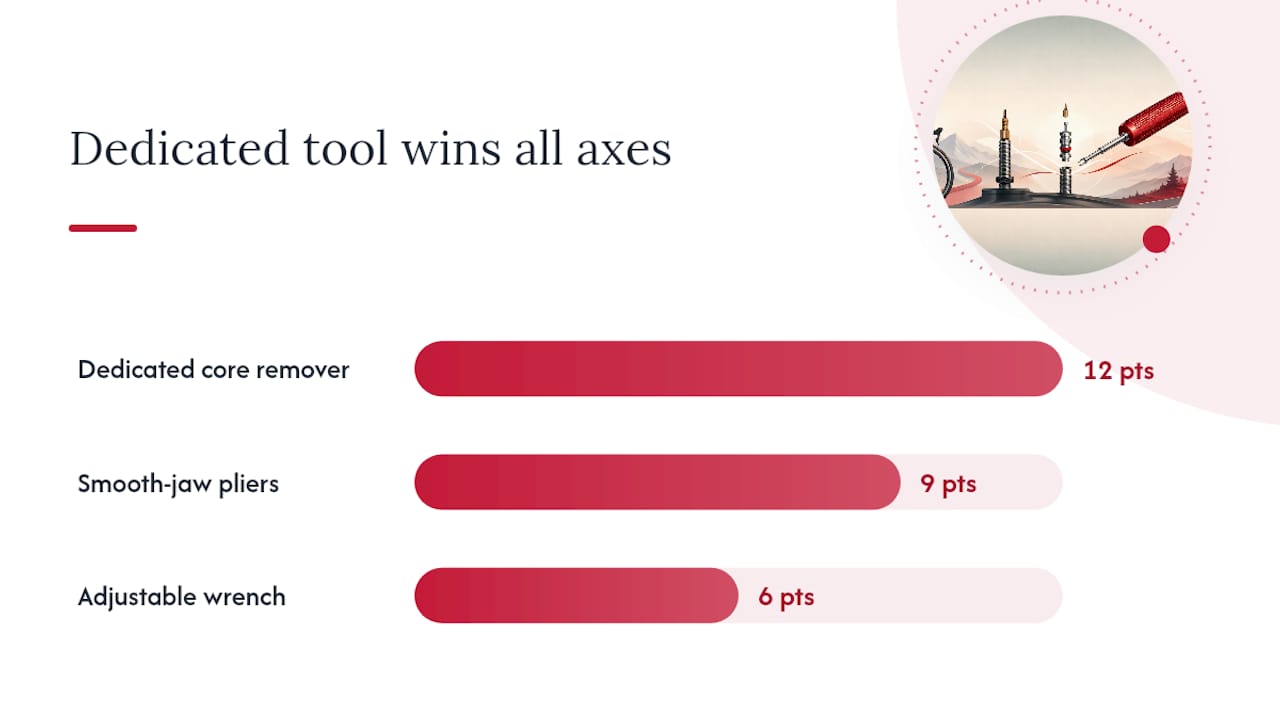
The dedicated tool wins on every axis that matters for field use.
Safety notes for handling sealant and tubeless-specific cautions
Always deflate the tire fully before removing the core. Wear eye protection. Keep sealant away from skin and eyes, and work in a ventilated area when using latex-based sealants.
Sealant handling tips:
- Place a rag under the valve before the core comes out.
- Clean sealant from skin and surfaces with warm water immediately.
- Dispose of sealant per the manufacturer’s instructions. Many latex sealants are not safe for drain disposal.
- Avoid inhaling sealant aerosols, particularly during high-pressure bead seating.
Removing the core for bead seating dramatically increases airflow but also means sealant can spray when air rushes in. Position the valve at the lowest point of the rim, have a rag ready, and stand to the side of the tire during inflation. Follow the sealant manufacturer’s safety data sheet for handling and disposal guidance, which is the standard requirement under U.S. product safety regulations.
Key takeaways
Presta valve core removal is a quick, low-cost skill that keeps tubeless setups running without a shop visit, provided you use the right tool and never force a stuck or fixed core.
| Point | Details |
|---|---|
| Check for flats first | Two small parallel flat sides on the upper shaft confirm the core is removable before you touch a tool. |
| Deflate completely | Full deflation before removal prevents sealant spray and protects the valve seat. |
| Use a dedicated core tool | A purpose-built remover grips the flats precisely and avoids rounding or stripping the soft brass threads. |
| Reinstall gently | Thread by hand, then one light snug with the tool. Overtightening is the leading cause of a snapped core. |
| Sportfactoryproshop carries the kit | A compact core remover plus spare Presta cores from Sportfactoryproshop covers every tubeless maintenance scenario. |
The case for making this a standard part of your kit
The dedicated-tool method is the one worth committing to. Riders who rely on pliers or wrenches in a pinch often get away with it once, then round a flat on the second attempt and end up replacing a valve stem that a $5 tool would have saved. The real payoff of mastering core removal isn’t just the occasional sealant top-up. It’s the confidence to diagnose a slow leak at the trailhead, seat a stubborn bead in a parking lot, or swap a corroded core before a race without touching a shop floor. Checking cores and refreshing sealant every 2–6 months keeps valves serviceable and corrosion-free far longer than most riders expect. A small core remover and two spare cores in your saddle bag weigh almost nothing and have an outsized effect on how many rides actually finish on two inflated tires.
Sportfactoryproshop has the tools to keep you rolling
A compact Presta valve-core remover paired with a pack of spare cores is the single best tubeless maintenance purchase you can make. The tool pays for itself the first time it saves you from a shop visit, and spare cores mean a leaking valve never ends a ride early. At Sportfactoryproshop, you’ll find cycling tools and accessories curated specifically for riders who take their equipment seriously, from competitive triathletes to weekend gravel riders who need gear that works when it matters.

Look for a core remover machined for standard Presta flats, lightweight enough for a jersey pocket, and compatible with valve extenders if you run deep rims. Keep two or three spare cores alongside it. Head to Sportfactoryproshop to browse the full selection of tubeless tools and spare components, and get your kit sorted before your next ride.
Useful sources and further reading
These are the authoritative references used throughout this guide. Each one backs a specific claim or procedure covered above.
- How to Remove a Presta Valve Core | MOOVMOOV
- How to maintain tubeless valves on your bike | BikeTips
- Remove a Presta Valve Core Without a Tool - BikeRideReview
- How to repair Presta valve | BikeHike
- Presta Valves: The Definitive Guide to Cycling’s Most Trusted Valve System - Stewartjamieson.co.uk
- How to Replace a Presta Valve Core - Laxzo