

The Gravel Repair Kit That Gets You Home Every Time
Posted by Matt Russ on 23rd Aug 2026
The Gravel Repair Kit That Gets You Home Every Time
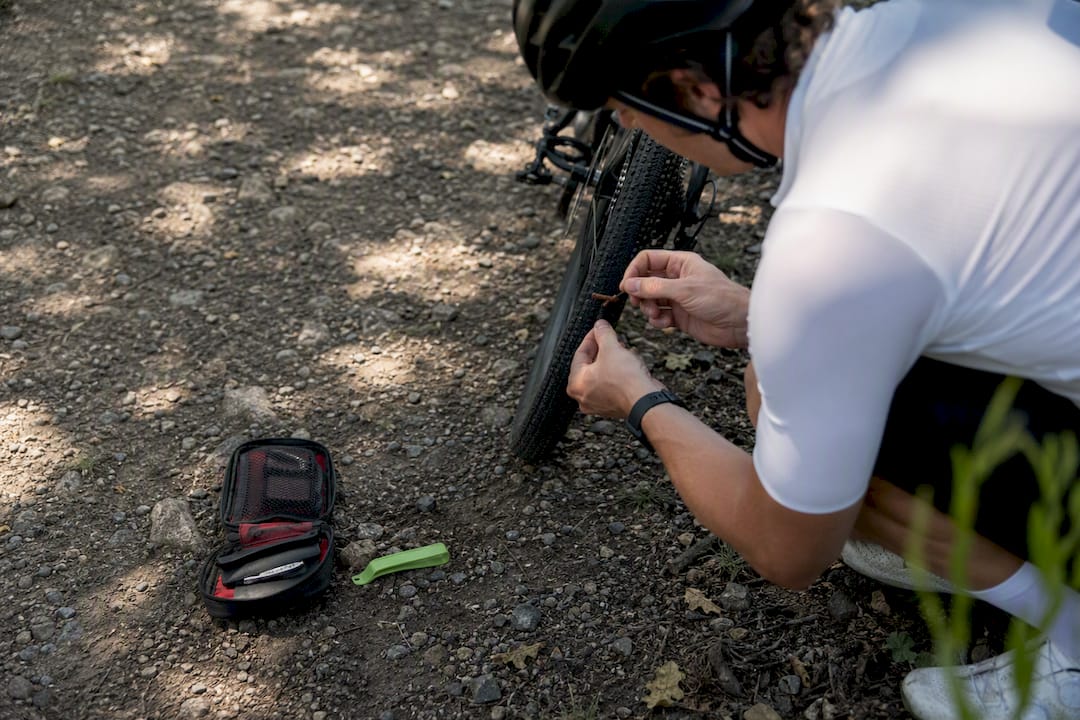
A solid gravel repair kit covers five jobs: seal or swap a punctured tire, add air, adjust or cut a chain, tighten what’s loose, and carry a few consumables that fix the weird stuff. That means a spare tube or tubeless plug kit, a mini pump or CO2 inflator, a compact multi-tool, a chain quick link, tire levers, a patch kit, and small extras like a spare valve core and zip ties. Make one decision before you roll out: tubes or plugs, not both, unless you’re heading somewhere remote enough that a second failure mode would actually strand you. The sections below walk through exactly how to use each item and what to pack based on how long you’ll be out.
Key Takeaways
A functional gravel repair kit succeeds by matching tube-or-plug redundancy, fast-access packing, and practiced repair steps to the actual length and remoteness of your ride.
| Point | Details |
|---|---|
| Pick one flat system | Carry tubes or tubeless plugs as your primary fix, not both, unless the ride is remote. |
| Practice before you need it | Run a timed tube swap and plug install at home so roadside repairs go faster. |
| Pack for access, not just weight | Keep the tube, inflator, and multi-tool in your saddle bag; move spares to a frame bag. |
| Know your stop signs | A cracked frame, failed brakes, or an untrue wheel mean stop riding and call for help. |
| Scale the kit to ride length | Short rides need the basics; overnight rides need doubled tubes and spare spokes. |
Table of Contents
- What Goes in a Gravel Repair Kit (And Why Each Piece Matters)
- How Do You Fix a Flat Tire on a Gravel Bike?
- Fast Fixes for Chain, Derailleur, and Brake Problems
- Where to Pack Each Item for Fast Access
- Copy-Paste Packing Checklists by Ride Length
- Where Sportfactoryproshop Fits Into Your Kit
- What Actually Matters Once You’re Out There
- Frequently Asked Questions
- Sources
What Goes in a Gravel Repair Kit (And Why Each Piece Matters)
Gravel riding chews through tires differently than pavement does. Sharp rock edges cause cuts, not just punctures, and you’re often far enough from a bike shop that improvisation isn’t optional. That changes what belongs in your kit.
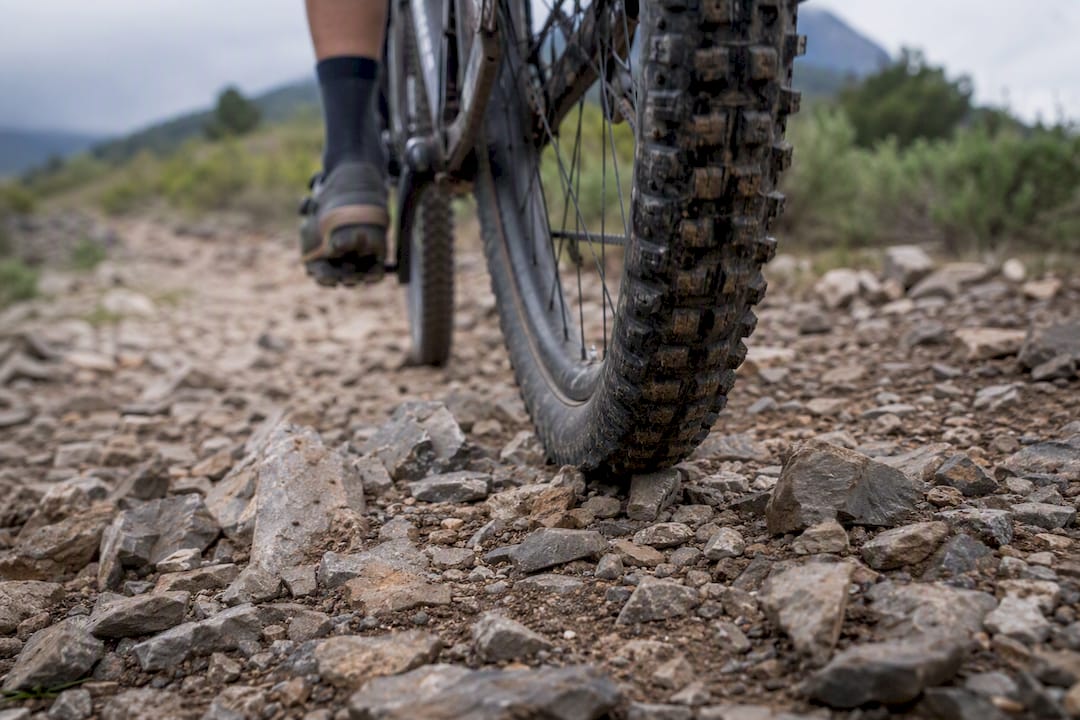
Spare tube vs. tubeless plugs and sealant comes down to your setup and how far you’re riding. If you run tubeless, a plug kit handles most small punctures in under two minutes without ever removing the wheel. Tubed riders (or tubeless riders dealing with a sidewall slash sealant can’t seal) need a spare tube, full stop. A lot of experienced gravel riders carry both: plugs for the quick fix, one tube as backup when the cut is too big.
Pump or CO2 is a real trade-off. CO2 inflators get you to riding pressure in seconds, which matters when you’re standing on a shoulderless county road. But cartridges are single-use, and cold weather can make them underperform. A mini pump weighs more and takes longer, but it never runs out. Many riders carry a small CO2 head for tubeless jobs and a compact frame pump as the backup that can’t fail.
Your multi-tool needs 2, 2.5, 3, 4, 5, and 6mm Allen keys at minimum, a chain tool, and a flathead or Torx bit if your bike uses disc rotor bolts. Round out the kit with these consumables:
- One chain quick link matched to your drivetrain’s speed count
- Two to three spare spokes taped to a chainstay or stashed in a frame bag
- A handful of zip ties and a strip of electrical tape
- One spare Presta valve core and a valve core tool
Pro Tip: Weigh your kit once with a kitchen scale, then ask what you’d cut for a two-hour local loop versus what you’d add for an all-day remote route. Most riders overpack the short rides and underpack the long ones.
How Do You Fix a Flat Tire on a Gravel Bike?
Tubed and tubeless flats need different fixes, and knowing both before you’re kneeling on gravel with cold hands saves real time.
Fixing a tubed flat:
- Remove the wheel and deflate the tube fully.
- Work one tire lever under the bead, then slide a second lever around to free one side of the tire.
- Pull the old tube, check the tire’s inside for the thorn or glass shard that caused the flat, and remove it.
- Partially inflate the new tube so it holds shape, then tuck it into the tire.
- Seat the bead by hand, starting opposite the valve, and finish with a lever only if needed.
- Inflate to your target pressure and spin the wheel to check for wobble before clipping back in.
Fixing a tubeless flat:
- Locate the puncture; if sealant isn’t already sealing it, insert a plug using the barbed insertion tool.
- Push the plug in at an angle, then pull the tool straight out, leaving the plug seated.
- Reinflate with CO2 or your pump and rotate the wheel to help sealant coat the inside.
- Trim the excess plug once it’s holding air.
- If the tear is too large for a plug, or air won’t hold after two attempts, remove the valve core, install a tube, and ride on that instead.
For gravel-specific tire widths, 40 to 50 psi is a common working range depending on rider weight and tire size. Squeeze the sidewall before clipping in. If it feels rock hard or noticeably soft compared to your normal ride pressure, adjust before you roll. Carry a spare valve core, a small sealant bottle, and the plug insertion tool specifically for tubeless jobs.
Fast Fixes for Chain, Derailleur, and Brake Problems
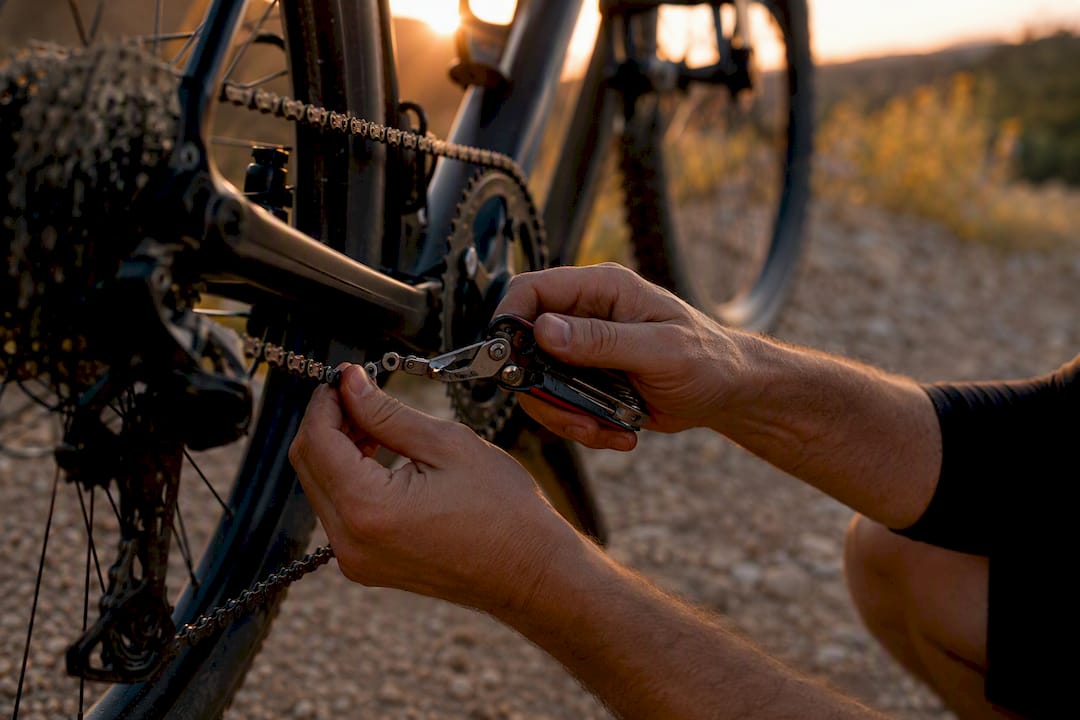
A broken chain doesn’t have to end your ride. Pull the damaged link with your multi-tool’s chain tool, then rejoin the chain using a quick link matched to your drivetrain speed. This is a permanent-enough fix to ride the rest of the day and beyond.
A bent derailleur hanger is trickier to fully repair on the trail, but you can often keep moving. If the hanger is bent enough to cause chain skip or wheel rub, shift into a gear that clears the mess, or in worse cases, remove the derailleur entirely, shorten the chain, and zip-tie it to run as a rigid singlespeed to the nearest road.
For brakes, hydraulic disc brakes that feel spongy after a bag rubbed the lever often just need the piston pushed back. A flat tire lever gently inserted between the pads resets it. Cable brakes are simpler: a barrel adjuster twist tightens slack in seconds.
- Chain skipping under load: check for a bent derailleur hanger first
- Rubbing brake rotor: reset the piston or check for a bent rotor
- Grinding or metallic noise from the drivetrain: stop and inspect before continuing
Pro Tip: A cracked frame, a wheel that won’t stay true even after minor adjustment, or brakes that won’t hold at all are stop signs, not fix-it-yourself situations. Call for a ride or walk to cell coverage instead of pushing on.
Where to Pack Each Item for Fast Access
Your saddle bag should hold whatever you need most urgently: tube or plug kit, CO2 or mini pump, and multi-tool. Anything you’d fumble for under stress belongs somewhere you can reach without unclipping a second bag.
A ziplock bag with a strip of tape wrapped around it keeps valve cores, quick links, and spare bolts dry and rattle-free inside a frame bag pocket. Small parts vanish into trail debris fast if they’re loose in a jersey pocket.
- Fast-access items (saddle bag or top tube bag): tube/plugs, inflator, multi-tool, levers
- Backup items (frame bag): spare tube, extra sealant, larger pump
- Rarely-needed spares (frame bag or feed bag): spokes, spare chain links, extra valve cores
For remote rides, add a second tube and a full-size pump. A CO2 cartridge that fails 40 miles from pavement isn’t a minor inconvenience.
Copy-Paste Packing Checklists by Ride Length
Short rides (1 to 3 hours):
- One tube or tubeless plug kit
- CO2 inflator with one cartridge, or mini pump
- Multi-tool with chain tool
- Two tire levers
- One quick link
Overnight or multi-day rides:
- Two tubes (even on tubeless setups)
- Mini pump plus CO2 backup
- Multi-tool, spare valve cores, sealant top-up bottle
- Two to three spare spokes and a spare chain link
- Zip ties, tape, and a patch kit for tube backups
Adjust either list up if you’re riding technical, rock-strewn terrain where cuts are more likely than clean punctures. Riders logging long endurance days should also think past the mechanical kit. A recovery-focused read on oxygen support for endurance cycling is worth a look if multi-day fatigue is as much your concern as flat tires.
Where Sportfactoryproshop Fits Into Your Kit
Sportfactoryproshop curates tubeless plug kits, compact CO2 inflators and pumps, multi-tools, quick links, and patch kits built for the exact jobs covered above, each selected for reliability on remote gravel routes rather than just shelf price.
- Tubeless plug kits with insertion tools for trailside punctures
- Compact frame pumps and CO2 combos for redundant inflation
- Multi-tools with full Allen and chain-tool coverage
Pro Tip: For remote or multi-day routes, prioritize kit items rated for durability over the lightest option on the shelf. A plug kit that fails in the field costs you more time than the ounces it saved you.
What Actually Matters Once You’re Out There
Most repair kit advice overweights gear lists and underweights practice. The kit only works if your hands already know the motions when they’re cold, shaking slightly from adrenaline, and working against a slow leak. Riders who spend ten minutes at home running through a tube swap or a plug install fix things twice as fast on the trail as riders who bought the same kit and never opened it.
The other overlooked point: weight-versus-redundancy decisions should follow the ride, not a general packing list. A two-hour loop ten minutes from your car doesn’t need a second tube. A remote all-day gravel route absolutely does. Treat the checklists above as starting points you adjust based on how far you’d have to walk if something failed twice.
Frequently Asked Questions
What’s the minimum I need for a short gravel ride? A tube or plug kit, CO2 or mini pump, multi-tool, tire levers, and a quick link cover almost every short-ride failure.
Can I skip carrying both tubes and plugs? On a short, populated route, yes. On remote terrain, carrying both is the safer call since sealant and plugs can’t fix every cut.
How do I know if a tubeless plug won’t hold? If air won’t hold after two plug attempts or the cut is longer than roughly a half inch, switch to a tube instead of repeating the plug.
What psi should I run for gravel tires? Most gravel setups land between 40 and 50 psi, adjusted for rider weight and tire width.
Do I need a full-size pump for gravel riding? For short rides, a mini pump or CO2 is enough. For remote or multi-day rides, a full-size pump avoids being stranded if cartridges run out.
Sources
- What to Pack in a Gravel Bike Repair Kit | Liv Cycling US
- Bike Repair Kits: Carry the Essentials | REI Expert Advice
- ALL TIRE REPAIR KITS | Lezyne