

Bike Light Mounting: A Cyclist's Guide to Getting It Right
Posted by Matt Russ on 18th Aug 2026
Bike Light Mounting: A Cyclist’s Guide to Getting It Right
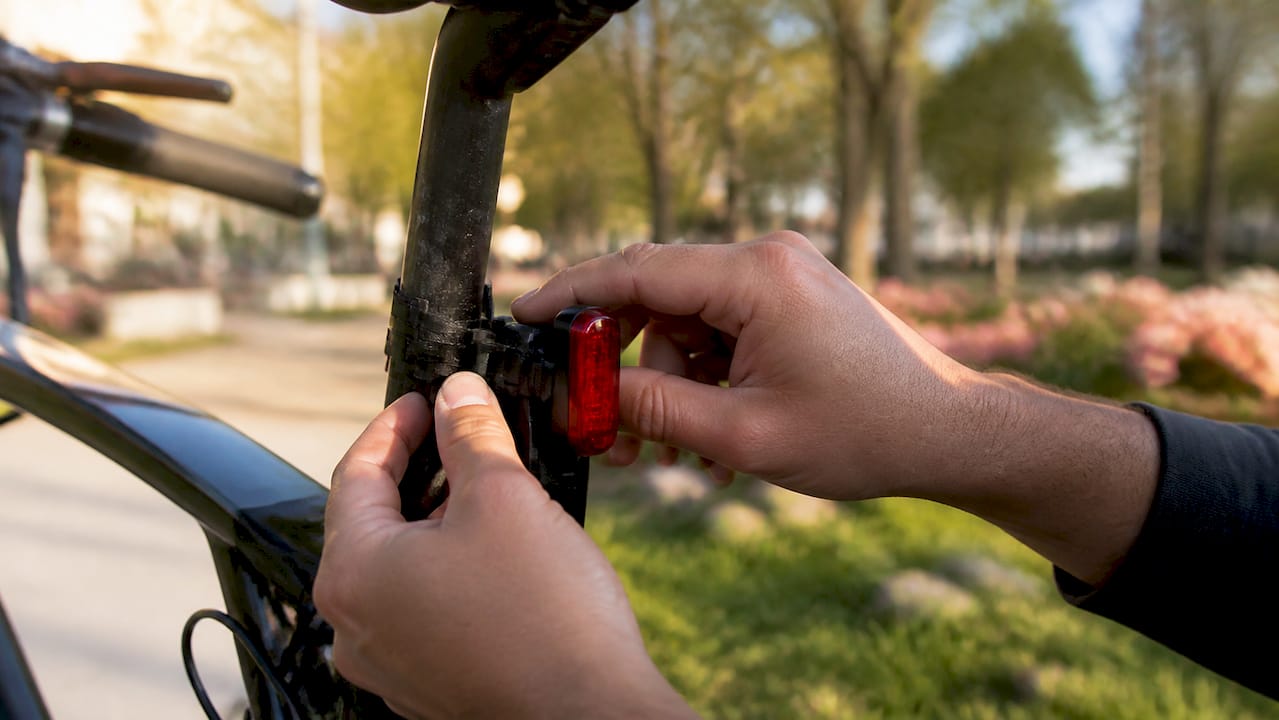
Mount your headlight on the handlebar and your taillight on the seatpost. That single combination covers most riders because it keeps both lights stable, high enough to see, and out of the way of your legs and cargo. Before you ride, confirm three things: the clamp matches your bar or post diameter, the strap or clamp is snug with zero play, and the beam is angled down, not into oncoming eyes. If your bike has an oddball shape, don’t worry. DIY fixes exist for almost every nonstandard frame or aero post.
- Clamp diameter matches your bar (22.2, 25.4, or 31.8 mm) or seatpost
- Strap, clamp, or bolt is tight with no wobble when you shake the light
- Beam angle points at the road ahead, not at drivers’ eyes
Key Takeaways
Secure bike light mounting comes down to matching clamp diameter, tightening evenly, and aiming the beam so it’s seen without blinding anyone else.
| Point | Details |
|---|---|
| Front light location | Mount on the handlebar near the stem for stability and easy aiming. |
| Rear light location | Use the seatpost as the primary spot, mounted as high as possible. |
| Match clamp diameter | Confirm 22.2, 25.4, or 31.8 mm fit before installing to avoid wobble. |
| Aero post needs an adapter | Use a shaped mount with a grooved pad instead of a standard round clamp. |
| Sport Factory for compatible gear | Sportfactoryproshop carries quick-release, seatpost, saddle-rail, and GoPro-style adapters matched to these fit specs. |
Table of Contents
- Where Should You Mount Bike Lights for Best Visibility?
- How Do You Mount a Front Light on the Handlebar?
- Where Should You Mount a Rear Bike Light?
- When Should You Use a Rack, Saddle, or Helmet Mount Instead?
- What Are the Best DIY Fixes When a Mount Doesn’t Fit?
- How Do You Choose the Right Mount for Your Bike?
- How Should You Aim Your Lights for Maximum Visibility?
- What Tools Should You Carry for Light Mounting Fixes?
- Why Does Placement Beat Lumen Count for Visibility?
- What Does a Cycling Specialist Install First on a New Bike?
- Where Can You Find Compatible Mounts at Sport Factory?
- Frequently Asked Questions
- Sources
Where Should You Mount Bike Lights for Best Visibility?
Every mounting spot trades off stability, visibility, and how much it gets in your way. The handlebar is the default front spot: rock steady, easy to aim, and close enough to reach the button mid ride. A fork crown or fork eyelet mount works too, and it frees up handlebar real estate while casting light low enough to reveal potholes through subtle shadowing. Helmet mounts add motion, which catches a driver’s eye faster than a fixed beam, but they’re less stable on rough singletrack.
For rear lights, seatpost placement wins for most bikes. Saddle rails and rack mounts are the backup plan when a saddlebag, fender, or aero seatpost blocks the usual spot.
- Handlebar: stable, easy to aim, ideal for commuting
- Fork crown: frees bar space, good for surface detail off-road
- Helmet: best motion-based detection, less stable for trail riding
- Seatpost: primary rear spot, high visibility
- Saddle rails/rack: backup when the seatpost is occupied or aero-shaped
Pro Tip: Pair a fixed handlebar light with a helmet light. The steady beam handles the road, and the moving one grabs a driver’s attention at intersections.
How Do You Mount a Front Light on the Handlebar?
Handlebar mounting is the fastest fix in this guide, and getting it right the first time saves you from re-tightening it on the side of the road.
- Measure your bar diameter where the light will sit. Most modern bikes run 31.8 mm near the stem, while older or nonstandard bars use 22.2 or 25.4 mm.
- Pick a clamp that matches, or use a rubber shim to fill the gap.
- Clear a spot close to the stem, center the mount, and tighten the bolts evenly in small turns rather than cranking one side down first.
- Aim the beam so it hits the pavement roughly 1 to 2 meters ahead for city riding, or 15 to 20 meters out if you’re moving faster on open roads.
- Check for vibration or rotation after your first ride
- Confirm the button is still reachable with gloves on
Pro Tip: If you ride a carbon bar, use the padded rubber shim that came with your clamp and stick to the manufacturer’s torque spec, usually 2 to 4 Nm. Overtightening a carbon bar can crack it.
Where Should You Mount a Rear Bike Light?
The seatpost is the primary rear light location, and height matters more than most riders realize. A taillight mounted higher on the post sits closer to a driver’s headlight beam and eye level, which makes it register faster in a rearview mirror.
When the seatpost is out (loaded with a saddlebag, dropper post collar, or already holding a fender), a saddle-rail clip or seat-stay clamp is the next best call. Both hold the light steady without competing for post space.
Aero seatposts are trickier because the flattened profile doesn’t grip a standard round clamp. A dedicated aero-post mount with a grooved contact pad solves this by matching the post’s shape and locking the beam angle in place.
- Standard round post: universal clamp, easy fit
- Aero post: needs a shaped adapter or grooved mount
- Seatpost occupied: use saddle rails or a seat-stay clamp instead
Pro Tip: Mount the taillight above your saddlebag, not below it. A bag blocking even half the beam cuts your visibility distance dramatically.
When Should You Use a Rack, Saddle, or Helmet Mount Instead?
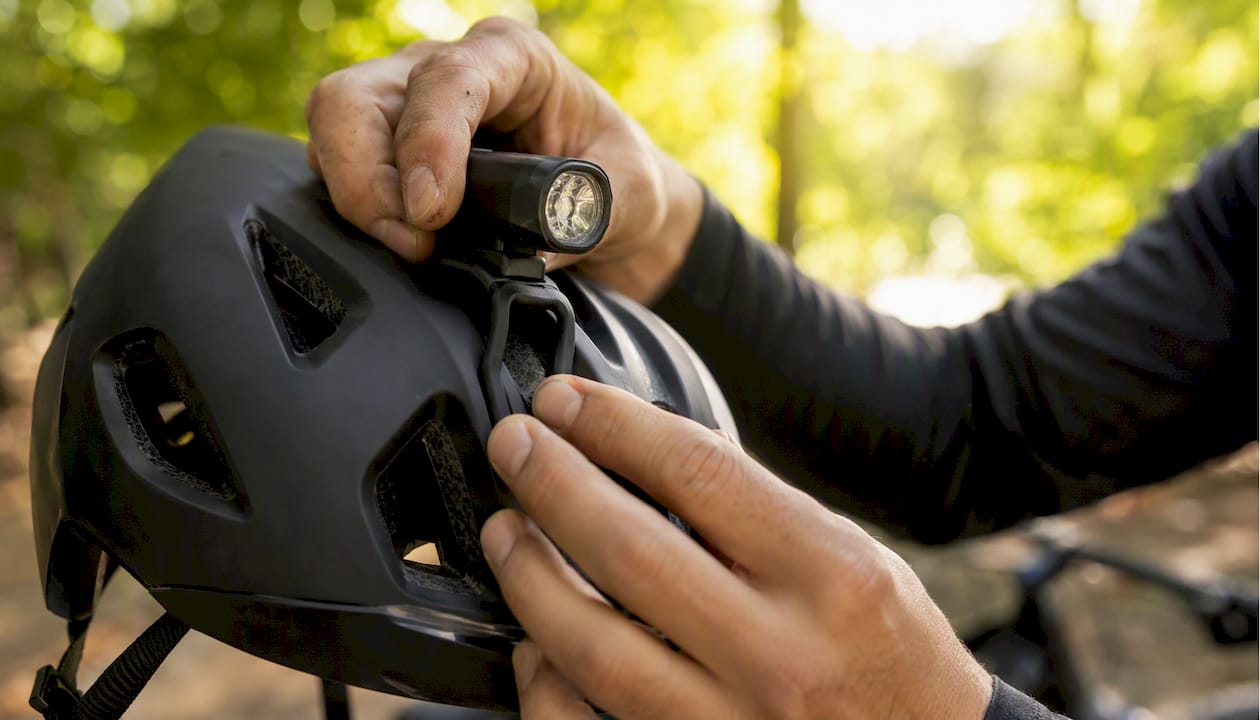
Helmet mounts earn their keep on technical trails and tight cornering, where the light’s movement highlights the terrain your head is already turning toward. Clip it to the front vent with the light’s own strap or a helmet-specific adapter, and keep the cable slack so it doesn’t yank when you turn your head.
Rack and pannier mounts make sense for touring or commuting setups with cargo. Place the light on top of the rack, never behind a bag, so nothing shadows the beam.
Saddle-rail mounts need a firm clamp on both rails to stop rotation, since a light that droops mid-ride can glare into the eyes of cyclists behind you.
- Helmet: best for trail riding and cornering visibility
- Rack: mount on top, never behind cargo
- Saddle rails: clamp both rails evenly to prevent tilt
Pro Tip: Test your saddle-rail mount by pedaling out of the saddle a few times before a real ride. If the light shifts, tighten it or add a rubber pad.
What Are the Best DIY Fixes When a Mount Doesn’t Fit?
Not every light ships with a bracket for your exact frame, and that’s where universal hardware and a little improvisation come in. A GoPro-style adapter is one of the more reliable options because it lets many modern lights click onto action-camera mounts on aero bars, helmets, or fork crowns. Low-profile adapters or a small 3D-printed bracket also work better than a permanent fix when you’ve lost the original proprietary mount and want to keep swapping lights later.
For true DIY territory, hose clamps wrapped with a strip of old inner tube create a surprisingly sturdy grip on odd tube shapes, though you lose some adjustability compared to a purpose-built clamp. Zip ties work in a pinch but should never be your only fastener.
- GoPro adapters: fit many lights to nonstandard spots
- Hose clamp + inner tube: sturdy, cheap, less adjustable
- Zip ties: backup only, not a primary fix
Pro Tip: Never let a DIY strap point the beam upward or sideways. A dislodged light mid-ride is a hazard, and glare into oncoming traffic is worse than no light at all.
How Do You Choose the Right Mount for Your Bike?
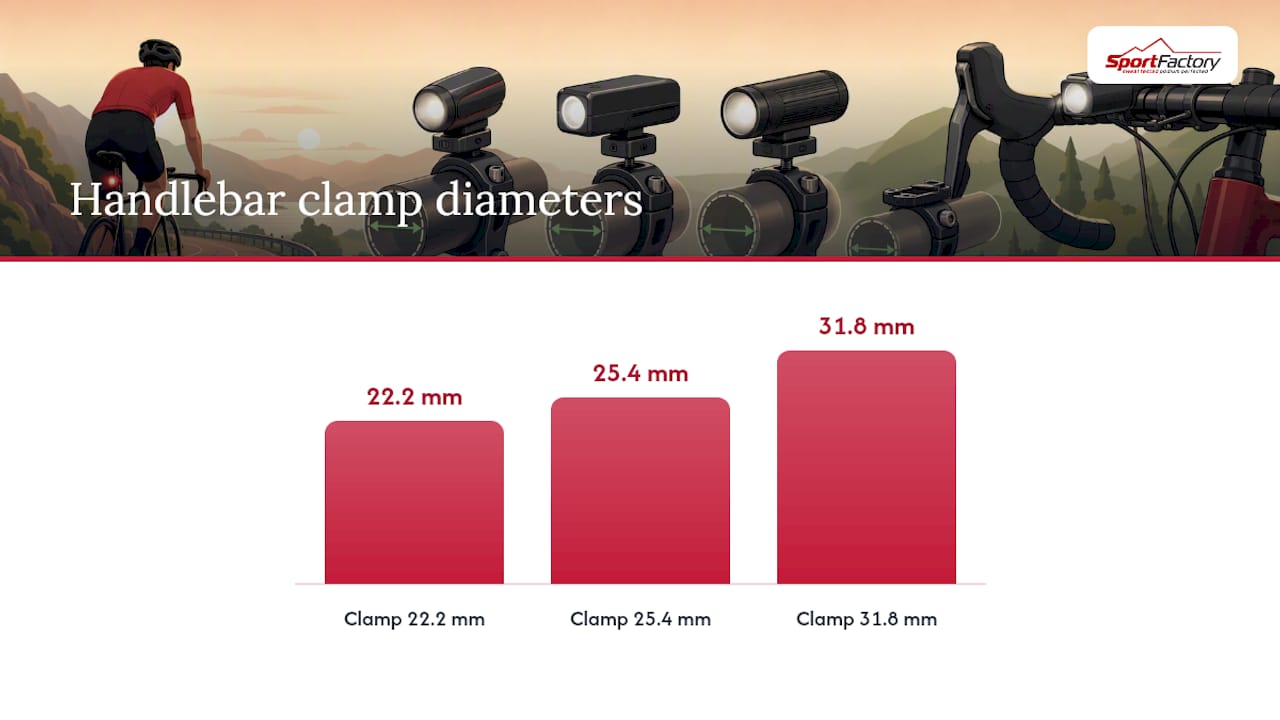
Start with the numbers. Handlebar clamps come in three common diameters: 22.2 mm, 25.4 mm, and 31.8 mm, and a mismatched clamp is the top cause of wobble or a light that spins under bumps. Check whether your bar is round or aero-flat, and whether your seatpost needs a standard or aero-specific bracket.
From there, weigh the features that fit how you ride:
- Quick release: faster on and off for charging or theft prevention
- Fixed clamp: more vandal-resistant and stable on rough terrain
- Anti-rotation design: keeps the beam locked at the angle you set
- Rubber shims: protect carbon and adapt one clamp to multiple diameters
Commuters should prioritize quick-release brackets since swapping the light off for charging or parking happens daily. Night trail riders should lean toward fixed, anti-rotation mounts that won’t shift on repeated impacts.
How Should You Aim Your Lights for Maximum Visibility?
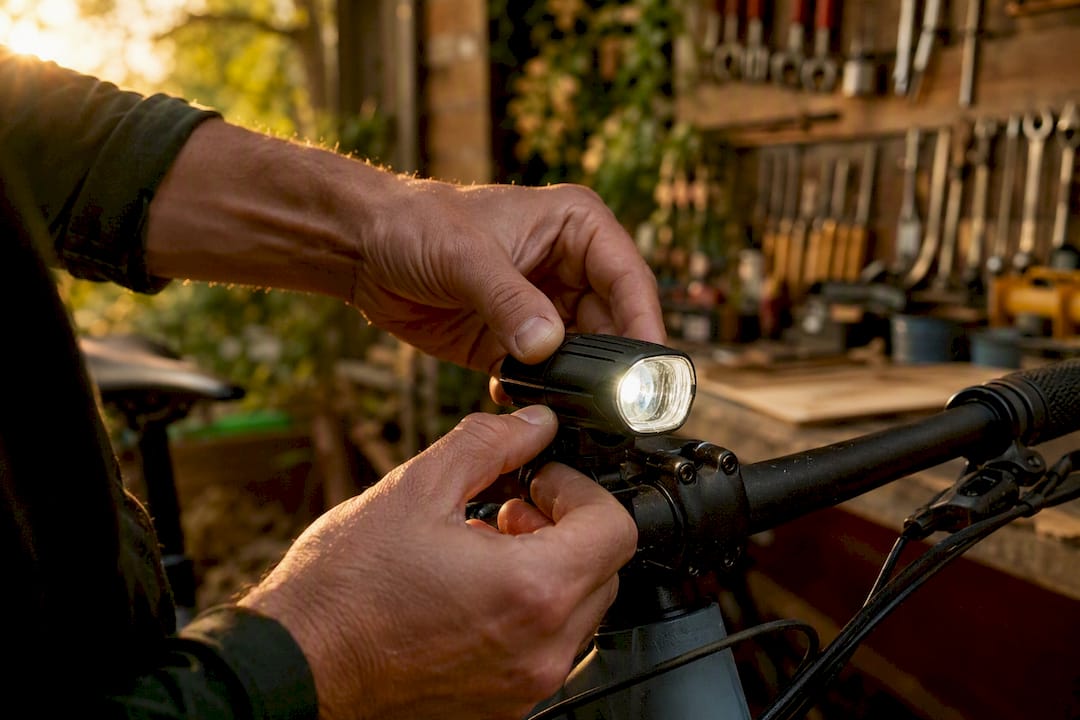
Beam angle decides whether a light helps you or blinds someone else. Point your front light slightly downward so it lands 1 to 2 meters ahead on city streets, or farther out on faster roads, and never level it straight at approaching drivers’ eyes.
Rear lights work best mounted as high as your seatpost or helmet allows, angled horizontally or just slightly down, matching a driver’s eye level in their mirror.
- Front beam: angled down, never eye level with oncoming traffic
- Rear light: mounted high, aimed horizontal to slightly down
- Combo setup: fixed handlebar light plus a moving helmet light for redundancy
Pro Tip: Walk your bike in a dark garage and check where the beam actually lands on the wall. It’s the fastest way to catch a poorly aimed light before you’re on the road.
What Tools Should You Carry for Light Mounting Fixes?
Keep a small kit in your saddlebag: Allen keys in 2.5 to 4 mm, a small screwdriver, a spare zip tie or two, a rubber shim, and a mini hose clamp. A small torque driver is worth adding if you ride carbon components.
- Rotation: add a rubber shim or anti-slip pad under the clamp
- Wobble: retighten evenly in a cross pattern, or replace a worn strap
- Rattle: wrap the contact point with a strip of rubber padding
- If a mount is cracked or stripped, replace it. Jury-rigging a broken clamp risks losing the light mid-ride.
Why Does Placement Beat Lumen Count for Visibility?
Marketing pushes lumen numbers, but placement and beam angle do more of the real work. A moving light on your helmet catches a driver’s peripheral vision faster than a static beam of any brightness, and pairing that motion with a stable handlebar light covers both detection and road illumination.
A rider who kept getting passed too close by cars found the fix wasn’t a brighter headlight. It was moving the existing light off a low fork mount and onto the handlebar, then adding a helmet light for the commute home. Detection improved before any lumen upgrade did.
- Moving light (helmet) plus fixed light (bar) beats one bright static source
- Correct angle avoids blinding drivers while still being seen
- Lumens matter less than where the beam actually lands
What Does a Cycling Specialist Install First on a New Bike?
On any new bike, the handlebar light goes on first, a helmet light second, and the seatpost taillight last. Before a night ride, a quick shake test on every mount catches loose bolts before they become a problem on the road.
Where Can You Find Compatible Mounts at Sport Factory?
Getting the fit right the first time beats troubleshooting a wobbly clamp at mile ten. Sportfactoryproshop stocks handlebar quick-release mounts, seatpost clamps, saddle-rail adapters, and GoPro-style adapters built to match the exact diameters and profiles covered above, so you’re not guessing at a hardware store.

If you’re outfitting a new bike or replacing a mount that never quite fit, browse compatible mounts and accessories at Sport Factory and match your bar diameter, seatpost type, and riding style to the right hardware before your next ride.
Frequently Asked Questions
What’s the best place to mount a bike light for commuting? Handlebar for the front, seatpost for the rear. Both spots stay clear of bags and fenders and give you a steady, easy-to-aim beam for city riding.
Where should a rear bike light go if my seatpost has an aero shape? Use a mount built for aero posts with a grooved, non-slip contact pad, or switch to a saddle-rail or seat-stay clamp instead.
Can I mount a bike light without a proprietary bracket? Yes. A GoPro-style adapter or a hose clamp padded with a strip of inner tube both work as reliable substitutes when the original mount is missing.
How high should I mount my rear light? As high as your seatpost or helmet allows. Height puts the beam closer to a driver’s eye level and mirror line, improving detection distance.
Do I need a bright light if my mounting position is good? Correct placement and beam angle matter more than raw lumens for being noticed. A moderately bright light aimed well beats a blinding one aimed poorly.
Sources
- Where to mount bike lights on bicycle: step-by-step guide — BikeBesties
- General mounting solutions for lights etc. — Bicycles Stack Exchange