

How To Seat Stubborn Tubeless Bead For Under $20
Posted by Matt Russ on 26th Aug 2026
Under $20: Seat Stubborn Tubeless Beads for Home Cyclists
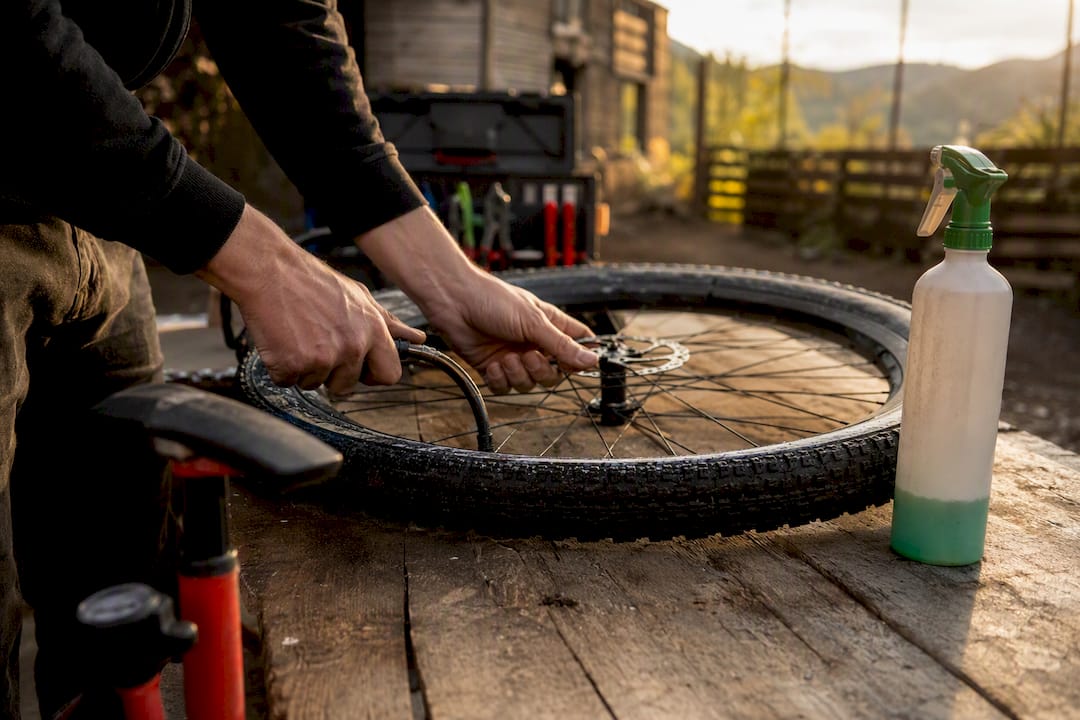
The fastest reliable fix for tubeless bead seating is removing the valve core and sending a high-volume air burst into the tire, using a floor pump, booster, or compressor. Before you touch the pump, confirm your rim tape covers every spoke hole, the valve sits flush and airtight, and your tire is actually marked tubeless-ready. Never exceed the max PSI stamped on your tire’s sidewall or your rim’s spec sheet, whichever is lower.
TL;DR:
- Removing the valve core significantly increases airflow, making it easier to generate the burst of air needed to seat stubborn tubeless beads.
- Using a high-volume inflator or booster costs between $30 and $120 and can often solve bead seating issues that a standard pump cannot handle.
- Ensuring the rim tape fully covers every spoke hole, the valve seat is airtight, and the tire is tubeless-ready are the most common failure points.
- It is crucial to wait at least 30 seconds after initial seating before adding sealant, allowing the bead to properly lock into place.
- Problems with bead seating are typically caused by leaks from rim tape, valve issues, or incompatible tire/rim combinations, which can usually be fixed with inexpensive parts.
Table of Contents
- What’s the Best Way to Handle Tubeless Bead Seating?
- Why Won’t My Tire Bead Pop? A Troubleshooting Checklist
- Which Tools Actually Help With Seating Problems?
- Do Shop Mechanics Really Handle This Differently?
- Sources
What’s the Best Way to Handle Tubeless Bead Seating?
Air volume beats air pressure every time you’re fighting a stubborn bead. A standard floor pump forces air through a narrow valve core, and that bottleneck often means you’re building pressure inside the tire without ever generating the sudden rush needed to pop both beads onto the rim shelf simultaneously. Pull the valve core out, and you’ve effectively widened that bottleneck. Removing the core increases airflow, turning a slow trickle into the kind of burst that actually seats a bead.
Here’s the sequence to work through, roughly in order of cost and complexity:
- Seat the bead by hand first. Push both tire beads toward the center of the rim, away from the sidewalls, so there’s slack for air to move the bead outward when pressure builds.
- Remove the valve core with a valve-core tool (a small, inexpensive wrench that grips the core’s flat sides).
- Pump in fast, hard strokes. You’re not trying to hit a PSI number yet. You’re trying to move a large volume of air in a few seconds.
- Listen for the pop. Each bead seating makes an audible snap as it locks against the rim’s bead shelf.
- Reinstall the valve core, then top off to your working pressure.
If a floor pump with the core removed doesn’t do it, a booster or canister inflator is the next logical step. These store a charge of air at higher pressure in a small tank, then release it all at once, mimicking what a shop compressor does. Consumer units generally run $30 to $120 depending on the brand and tank size, and they’re worth owning if you set up tubeless tires more than a couple of times a season.
A shop compressor works too, but it comes with a catch most home mechanics don’t think about. Compressed air carries moisture, and that condensation can interact with natural-latex sealants sitting in the tire. A booster that delivers dry, stored air is often the smarter compromise for home mechanics, even if a compressor technically delivers more raw power.
CO2 cartridges will seat a bead in a pinch, out on the trail with no other option, but treat this as a last resort rather than routine. CO2 escapes through tire rubber faster than regular air and can affect sealant chemistry if it lingers. If you seat a bead with CO2, deflate and refill with a standard pump or floor inflator as soon as you’re able.
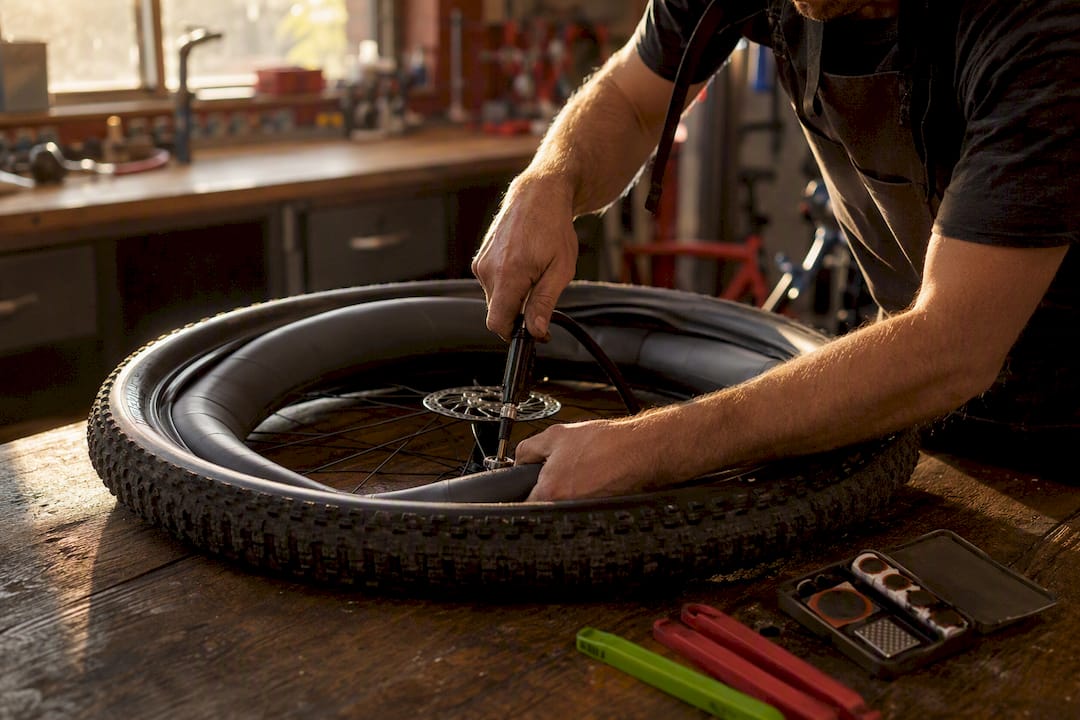
The old inner-tube trick still has its place: install a tube, inflate to seat both beads fully against the rim, then deflate, break one side of the bead, pull the tube, and reinflate tubeless. It’s slower, but it works when nothing else has a burst rating high enough for a particularly tight tire/rim combination.
Pro Tip: Skip plain soapy water if you’re running a natural-latex sealant. A fast-evaporating spray like diluted Windex lubricates the bead just as well and won’t dilute or shift the sealant’s pH the way soapy water can.
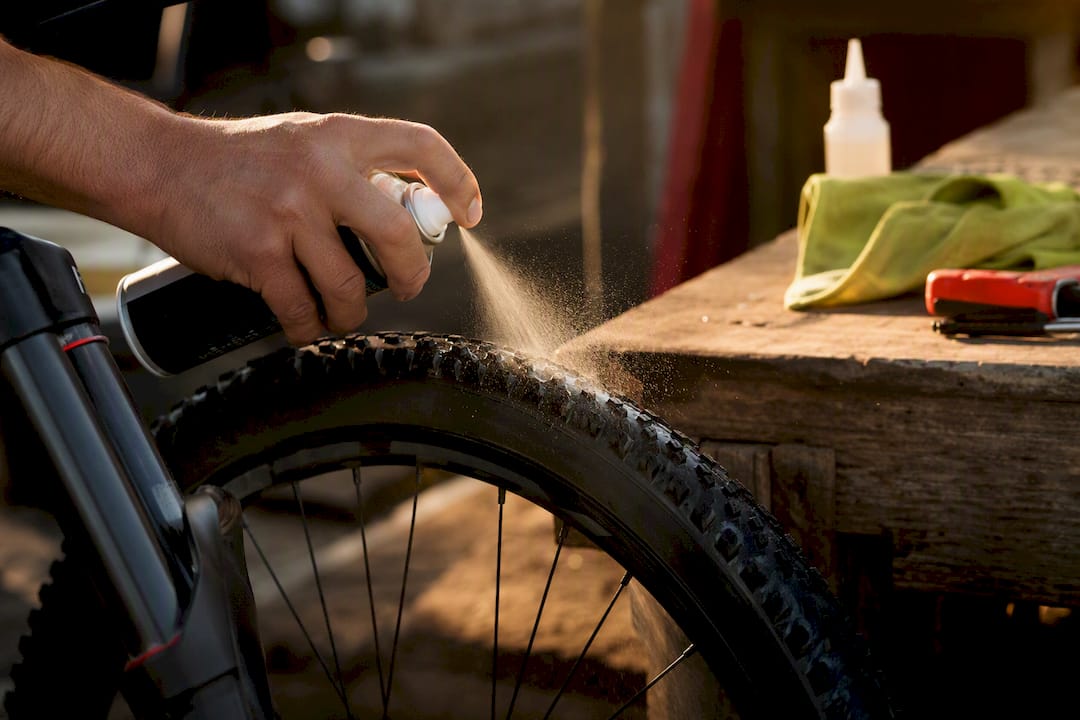
Whatever lubricant you use, apply it to the bead itself, not just the rim, and work it around the full circumference. A dry spot is usually where the bead refuses to pop.
Why Won’t My Tire Bead Pop? A Troubleshooting Checklist
Most seating failures trace back to one of three problems: air is escaping faster than you can build pressure, the bead physically isn’t reaching the rim shelf, or there’s a mechanical mismatch between the tire and rim. Work through this checklist in order, because rim tape and valve issues cause the majority of failures, long before you need to blame the tire or rim itself.
- Check tape coverage. Rim tape must fully bridge every spoke hole with a few millimeters of overlap on the rim’s inner width. A single exposed spoke hole is enough to leak air faster than most pumps can compensate.
- Inspect the valve hole seal. Tape should wrap around the valve base cleanly, with no wrinkles or gaps letting air sneak past the grommet.
- Test valve flow. Clean out any dried sealant gunk from the valve core, and swap in a fresh core if flow seems weak. Valve-core flow varies by brand, and a cheap spare high-flow core is worth keeping in your kit.
- Confirm tubeless compatibility. Look for a “tubeless ready” or TLR marking on the tire sidewall, and check that it’s mounted with any directional arrows pointing the right way.
- Rule out rim damage. A rim that’s slightly out-of-round or has a damaged bead shelf won’t hold a seat no matter what you throw at it. Swap the tire onto a different wheel if you suspect the rim rather than the tire is the problem.
A quick diagnostic hierarchy worth remembering: tape and valve issues account for the bulk of stubborn beads, tire/rim mismatches are rarer, and true rim defects are rarer still. Start cheap, escalate only when the cheap fixes fail.
Once the bead holds pressure on its own for at least 30 seconds, you’re clear to add sealant. Injecting sealant before that point creates a slippery film between bead and rim that can actually prevent a proper seat. Add it through the valve with the core still removed, then rotate the wheel through a few full turns to coat the interior evenly. Expect a small pressure drop over the first day as the sealant finds and plugs the tire’s natural porosity.
Which Tools Actually Help With Seating Problems?
You don’t need a full shop setup to seat tubeless tires reliably. A few targeted purchases solve almost every seating headache, and they’re worth prioritizing in this order:
- Valve-core tool and spare cores (roughly $5 to $15): the cheapest, highest-impact item in a tubeless toolkit, since a clogged or low-flow core kills more seating attempts than any other single factor.
- High-volume floor pump ($40 to $100): most riders already own one, and pairing it with valve-core removal solves the majority of home seating jobs.
- Booster or canister inflator ($30 to $120): the next step up when a floor pump alone won’t generate enough burst volume.
- Sealant injector ($10 to $25): a valve-through injector like the Park Tool TSI-1 keeps sealant addition clean and mess-free after the bead is seated.
A shop compressor only makes sense if you’re setting up tubeless wheels regularly for multiple bikes. Otherwise, renting time at a local shop or asking a mechanic to seat a stubborn tire once costs less than buying a compressor you’ll use twice a year.
Do Shop Mechanics Really Handle This Differently?
Author Matt has spent enough time at the workbench fielding “why won’t this seat” questions to know the pattern repeats itself constantly. Almost every stubborn bead traces back to one of three culprits, and they’re rarely exotic.
- Gunk-clogged valve cores that look fine until you actually test airflow through them.
- Rim tape that’s a few millimeters too narrow, leaving spoke holes half-exposed near the valve.
- Tire and rim combinations that are technically tubeless-compatible on paper but fit loosely enough to leak air faster than a home pump can compensate.
The three fixes that solve the vast majority of stubborn beads cost less than $20 combined: a fresh valve core, properly sized rim tape, and confirming the tire is actually rated tubeless-ready before blaming the wheel.
Each of those failure modes has a cheap, specific remediation, and none of them require a trip to the shop once you know what to check first.
When should you stop troubleshooting and call a shop?
Three quick rules: if you’re out of time, if you don’t own a valve-core tool or booster, or if you genuinely suspect the rim itself is out of round, stop and get help. Shops true rims on a stand and run specialized inflators that generate bursts no home pump can match.
— Matt
Sport Factory Pro Shop has the tools this job actually needs
Every fix in this guide points back to the same short list of gear, and that’s exactly what Sportfactoryproshop stocks for riders who’d rather solve the problem tonight than order three separate items from three separate stores.

Browse the shop’s selection of high-volume floor pumps, valve-core tools with spare high-flow cores, through-valve sealant injectors, and tubeless sealants built for road, gravel, and mountain setups alike. If you’re not sure which booster size fits your rim volume or which tape width matches your wheel, the team can walk you through fitment before you buy, so you’re not guessing twice. Head to the Sport Factory Pro Shop storefront to pick up the exact tools covered in this guide and get your next tubeless install seated on the first try.
Your quick-reference checklist for next time
- Pull the valve core, then hit it with a high-volume burst from a pump, booster, or compressor.
- Check tape coverage, valve flow, and tubeless compatibility before reaching for bigger gear.
- Wait for a confirmed 30-second seat before adding sealant, then rotate the wheel to spread it.
- Swap wheels to isolate a rim problem if a tire still won’t hold pressure.