


Pedal Stack Height: What It Is and Why It Changes Your Fit
Posted by Matt Russ on 15th Aug 2026
Pedal Stack Height: What It Is and Why It Changes Your Fit
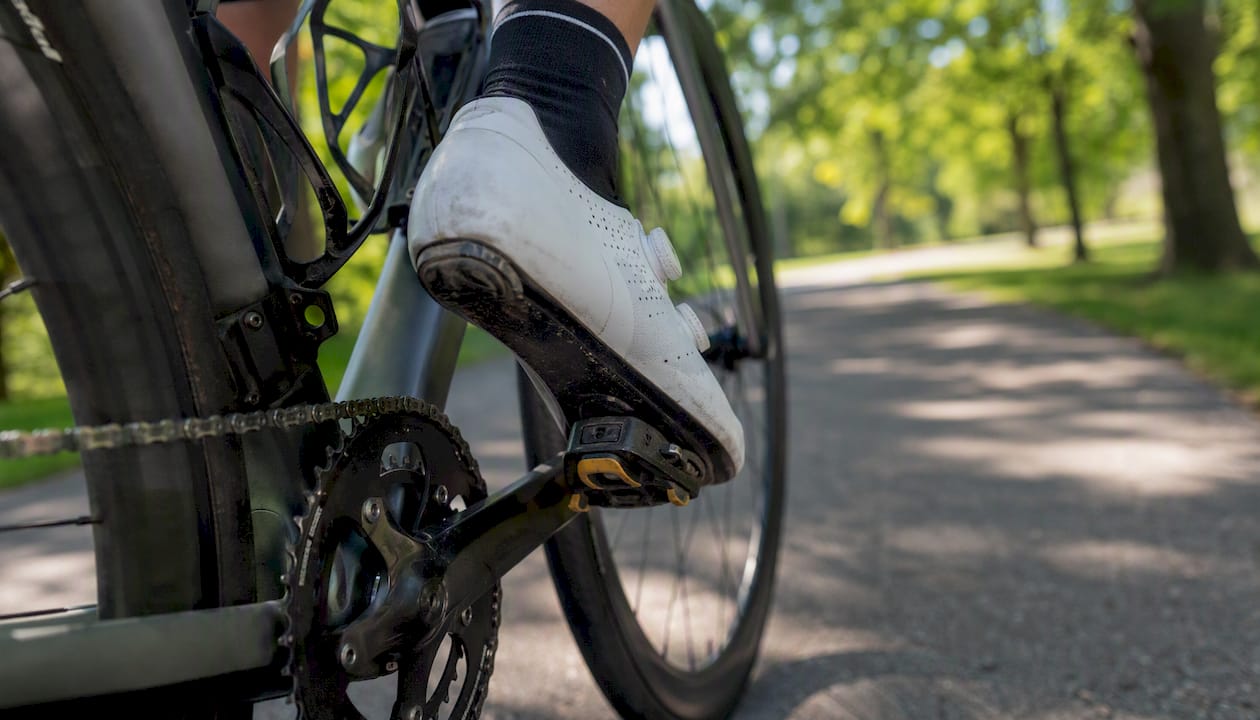
Pedal stack height is the vertical distance from the center of the pedal spindle to the surface where your cleat contacts the pedal, measured in millimeters. Get that number wrong when you swap pedals, and your saddle height is effectively wrong too, even if you never touched the seat post.
Three things to know right now:
- A stack change shifts your effective saddle height by the same number of millimeters, roughly 1:1.
- Manufacturers don’t all quote the same thing: some report pedal-only stack, others include the cleat, and the gap between those two conventions can reach 5–7 mm.
- Common road systems typically run within a range of pedal-plus-cleat combinations that vary considerably, reflecting the diversity in models and designs. So there’s real variation across the market.
The sections below cover how to measure your own stack, where major pedal families sit in that range, and exactly what to do when you switch systems.
Key Takeaways
Pedal stack height is a total system measurement, and every millimeter of change between systems requires an equivalent saddle-height adjustment to preserve your fit.
| Point | Details |
|---|---|
| Definition | Stack height runs from spindle center to cleat contact surface; always use the pedal-plus-cleat total for fit decisions. |
| Measurement priority | Measure both pedals with digital calipers and record total system stack before and after any swap. |
| Typical ranges | Road systems vary considerably in stack height; MTB SPD systems are lower due to recessed cleats. |
| Saddle-height equivalence | A 5 mm stack change requires roughly a 5 mm saddle adjustment to restore the same leg extension. |
| Sportfactoryproshop | Stocks low-profile pedals, cleat shims, and measurement tools to support precise stack-height management. |
Table of Contents
- What pedal stack height actually measures (and why “pedal-only” isn’t the whole story)
- How to measure stack height at home or in the shop
- Where common pedal systems fall in the stack-height range
- How stack height changes affect saddle height, knee tracking, and ride feel
- A practical checklist for switching pedal systems
- What research and shop experience say about stack in practice
- A fitter’s note on stack-related swaps
- Sportfactoryproshop carries the pedals and tools to get your stack right
- Sources
What pedal stack height actually measures (and why “pedal-only” isn’t the whole story)
The number your pedal manufacturer quotes is often just the pedal body, measured from spindle center to the cleat platform. That’s the pedal-only stack. What your body actually experiences is the total system stack: pedal body + cleat thickness + the relevant portion of your shoe sole between the cleat and the floor of the shoe.
Think of it as three layers stacked between your foot and the spindle:
- Shoe sole (the material between your foot bed and the cleat mounting surface)
- Cleat (varies by system; a Look Keo cleat sits differently than a Shimano SPD-SL cleat)
- Pedal body (the manufacturer-quoted figure, measured to the cleat contact surface)
The total system stack is what determines how far your foot sits above the pedal axle during the pedal stroke. Two pedals with identical manufacturer quotes can produce different total stacks if their cleats differ in thickness.
BikeRadar’s comparative analysis notes that the industry lacks a single measurement standard, meaning differences of up to 5–7 mm can appear between quoted figures depending on whether the cleat is included. That’s enough to meaningfully alter your fit without you realizing the source of the change.
How to measure stack height at home or in the shop
You don’t need a professional fitting studio to get reliable numbers. A set of digital calipers and a flat surface are enough for pedal-only measurement; total system stack takes one extra step.
Tools you’ll need:
- Digital calipers (0.1 mm resolution or better)
- A flat reference surface or straightedge
- A shop ruler or feeler gauge for cross-checking
- Your phone for photo documentation
Measuring pedal-only stack (numbered steps):
- Remove the pedal from the crank and lay it flat on a workbench with the spindle facing up.
- Set your calipers to measure from the spindle center (the axle midpoint) down to the cleat contact platform.
- Record the measurement for both the left and right pedal. They should match; a discrepancy of more than 0.5 mm suggests wear or bearing play worth investigating.
- Repeat the measurement twice and average the readings.
Measuring total system stack:
- Clip a cleat into the pedal as you would during riding.
- Place the assembly on a flat surface, cleat side down.
- Measure from the flat surface up to the spindle center using calipers or a straightedge plus ruler.
- Add the relevant shoe-sole thickness at the cleat mounting point if you want the full foot-to-spindle figure.
Pro Tip: Measure both sides, not just one. Left-right asymmetry in cleat thickness or pedal wear is more common than most riders expect, and a 1–2 mm difference between sides can contribute to knee tracking problems that are hard to diagnose without this baseline.
Where common pedal systems fall in the stack-height range
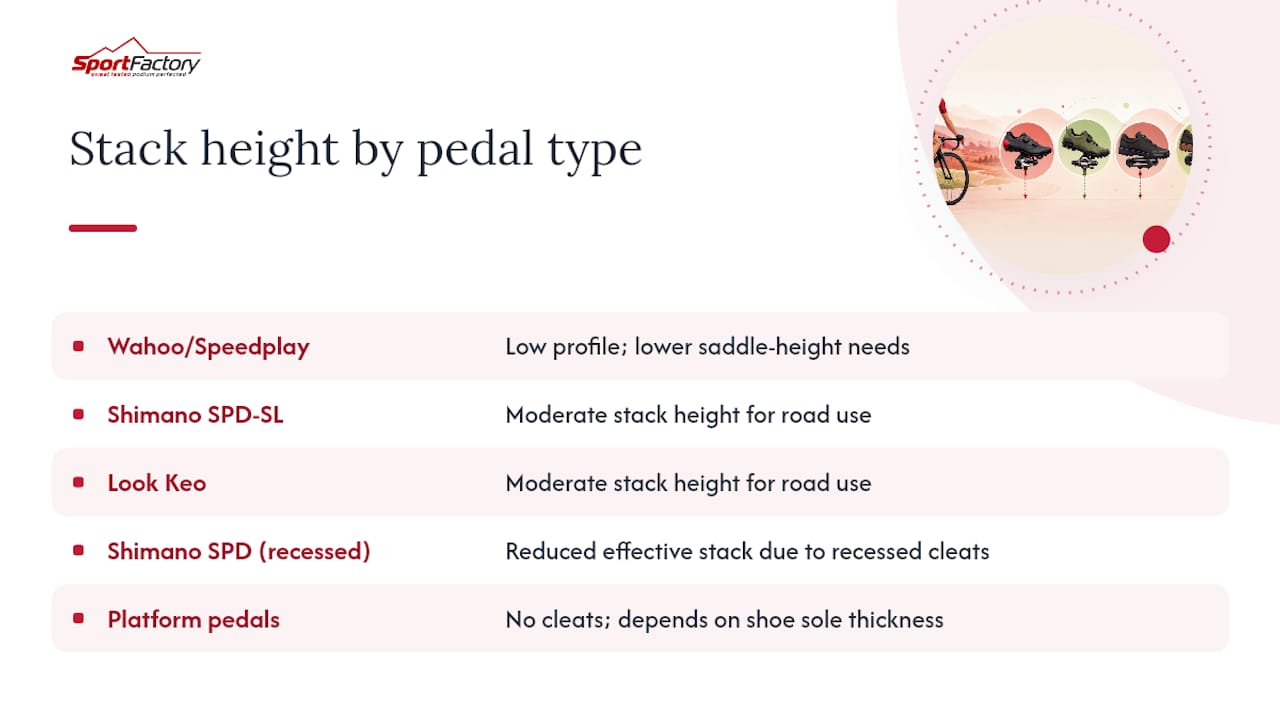
The typical pedal systems fall within ranges that overlap substantially. For example, Wahoo/Speedplay variants offer a low profile suitable for road racing and triathlon with relatively low saddle height requirements, whereas Shimano SPD-SL and Look Keo series offer moderate stack heights common for road use. Shimano SPD pedals with recessed cleats reduce the effective stack somewhat compared to other road systems. Platform pedals lack cleats, so stack relates primarily to shoe sole thickness.
Power-pedal products deserve a specific note: BikeRadar’s comparative data shows that some power-pedal manufacturers report pedal-body numbers only, which can make their stacks appear lower than non-instrumented pedals until you add the cleat. Always convert to a pedal-plus-cleat total before comparing.
How stack height changes affect saddle height, knee tracking, and ride feel
The relationship between stack height and saddle height is direct: a 5 mm increase in total system stack requires roughly a 5 mm saddle raise to restore the same leg extension at the bottom of the pedal stroke. The equivalence runs both ways. Drop to a lower-stack pedal and your effective saddle height drops by the same amount, shortening your leg extension and increasing knee flexion at the top of the stroke.

Knee tracking is where small changes become noticeable first. A stack increase that isn’t compensated by a saddle raise compresses the knee angle at the top of the stroke, which can load the patellar tendon. A stack decrease without a corresponding saddle drop can overextend the knee at the bottom, stressing the posterior structures. Neither extreme takes long to produce discomfort on longer rides.
Ride feel is a subtler effect. BikeRadar’s analysis describes lower stack as improving the connected feel to the drivetrain more than producing large power gains. The payoff is largely proprioceptive: your foot feels closer to the axle, and the pedal stroke can feel more direct. For most riders, the performance difference from a few millimeters is small; the fit consequence of ignoring those millimeters is not.
Shoe-to-crank clearance is the check that riders switching to lower-stack systems sometimes skip. A lower pedal body brings the shoe closer to the crank arm. Under heavy load or at maximum lean, some shoe-and-crank combinations will rub. Spin the cranks through a full stroke under load before committing to a new setup.
A practical checklist for switching pedal systems
Follow this sequence and you won’t lose your fit baseline when you change hardware.
- Record your current setup. Note saddle height (bottom bracket center to top of saddle), cleat position fore-aft and rotational angle, and total system stack for your current pedals.
- Measure the new system. Get the pedal-plus-cleat total for the incoming pedals using the method above.
- Calculate the delta. Subtract old total stack from new total stack. A positive number means the new system is taller; negative means lower.
- Adjust saddle height by the delta. Move the saddle up if the new stack is higher, down if it’s lower. Match the millimeter difference exactly as a starting point.
- Recheck cleat fore-aft position. Cleat platforms differ between systems; the ball of your foot may sit differently relative to the spindle even with the same shoe.
- Perform a progressive test ride. Start with 10–15 minutes at easy effort, then build intensity. Note any knee discomfort, hot spots under the foot, or unusual sensations.
- Re-measure and record the final settings. Log everything before your next ride so you have a confirmed baseline.
Pro Tip: Take a photo of your saddle height mark on the seat post and your cleat position before removing the old pedals. That photo takes five seconds and saves you from a 20-minute re-setup if you ever need to go back.
For stack deltas larger than 5 mm, or if discomfort persists after two or three test rides, a session with a professional bike fitter is worth the time. Consistent equipment setup across training and racing is one of the most underrated factors in avoiding overuse injuries.
What research and shop experience say about stack in practice
LOOK’s technical documentation defines pedal stack height as the distance between the center of the pedal axle and the surface where the cleat rests on the pedal, which is the clearest manufacturer-level definition available. BikeRadar’s comparative work reinforces that lower stack is “nice to have” for connection and feel, but the performance gains from a few millimeters are marginal for most riders.
A worked example: a rider moving from Shimano SPD-SL (total system stack approximately 16 mm) to Wahoo Speedplay (total system stack approximately 10 mm) faces a 6 mm delta. That rider needs to raise the saddle by 6 mm to restore the same leg extension. Miss that adjustment and the knee angle at the bottom of the stroke tightens noticeably within the first hour of riding.
Pedal bearing play is a less obvious source of stack change. As bearings wear, the pedal body develops lateral and axial play that subtly increases the effective distance between your foot and the spindle. Park Tool’s SPD overhaul procedure includes checking and adjusting cone and locknut preload to achieve minimal play while maintaining smooth rotation. Servicing worn bearings can restore a pedal to its intended stack behavior, which matters if you’re chasing a fit that felt right six months ago but has gradually drifted.
Pedal service procedures for common SPD-style and platform pedals follow a similar pattern: remove the pedal body, inspect bearings and bushings, adjust or replace as needed, and reassemble to the manufacturer’s preload spec. It’s a 20-minute job that most riders skip until something feels wrong.
A fitter’s note on stack-related swaps
When a client comes in after switching pedal systems and complaining of new knee discomfort, the first question is always whether they measured the stack delta before making the change. Most didn’t. The fix is almost always straightforward: measure both systems, calculate the difference, adjust the saddle, and ride a short test loop. What makes riders nervous is the idea that a small change could require a full re-fit. In practice, a delta under 3 mm rarely needs more than a saddle tweak and one test ride. Larger deltas warrant more attention, but the process is the same: measure, adjust incrementally, and document everything so you can return to baseline if needed. The biomechanical principle is consistent: small, measured changes with verification beats guessing and hoping.
Sportfactoryproshop carries the pedals and tools to get your stack right
Getting your stack dialed starts with having the right hardware. Sportfactoryproshop stocks high-performance pedals across road, gravel, and MTB categories, including low-profile options for riders looking to reduce total system stack. Alongside pedals, the shop carries cleat shims and fitting accessories that let you fine-tune stack without changing your entire pedal system. If you need digital calipers or measurement tools to run the process described in this article, those are available too.

For riders facing a larger fit change or switching between very different pedal families, the product pages include spec details to help you calculate your delta before you buy. Visit Sportfactoryproshop to browse pedals, cleat accessories, and measurement tools, or reach out directly if you need guidance on which system fits your current setup.
Sources
- What is the pedal stack height? –LOOK
- Which clipless road bike pedals have the lowest stack height? | BikeRadar
- Float, Release Angle, Stack Height - Cleat Setup for Ever… - Bike Maintenance Pros